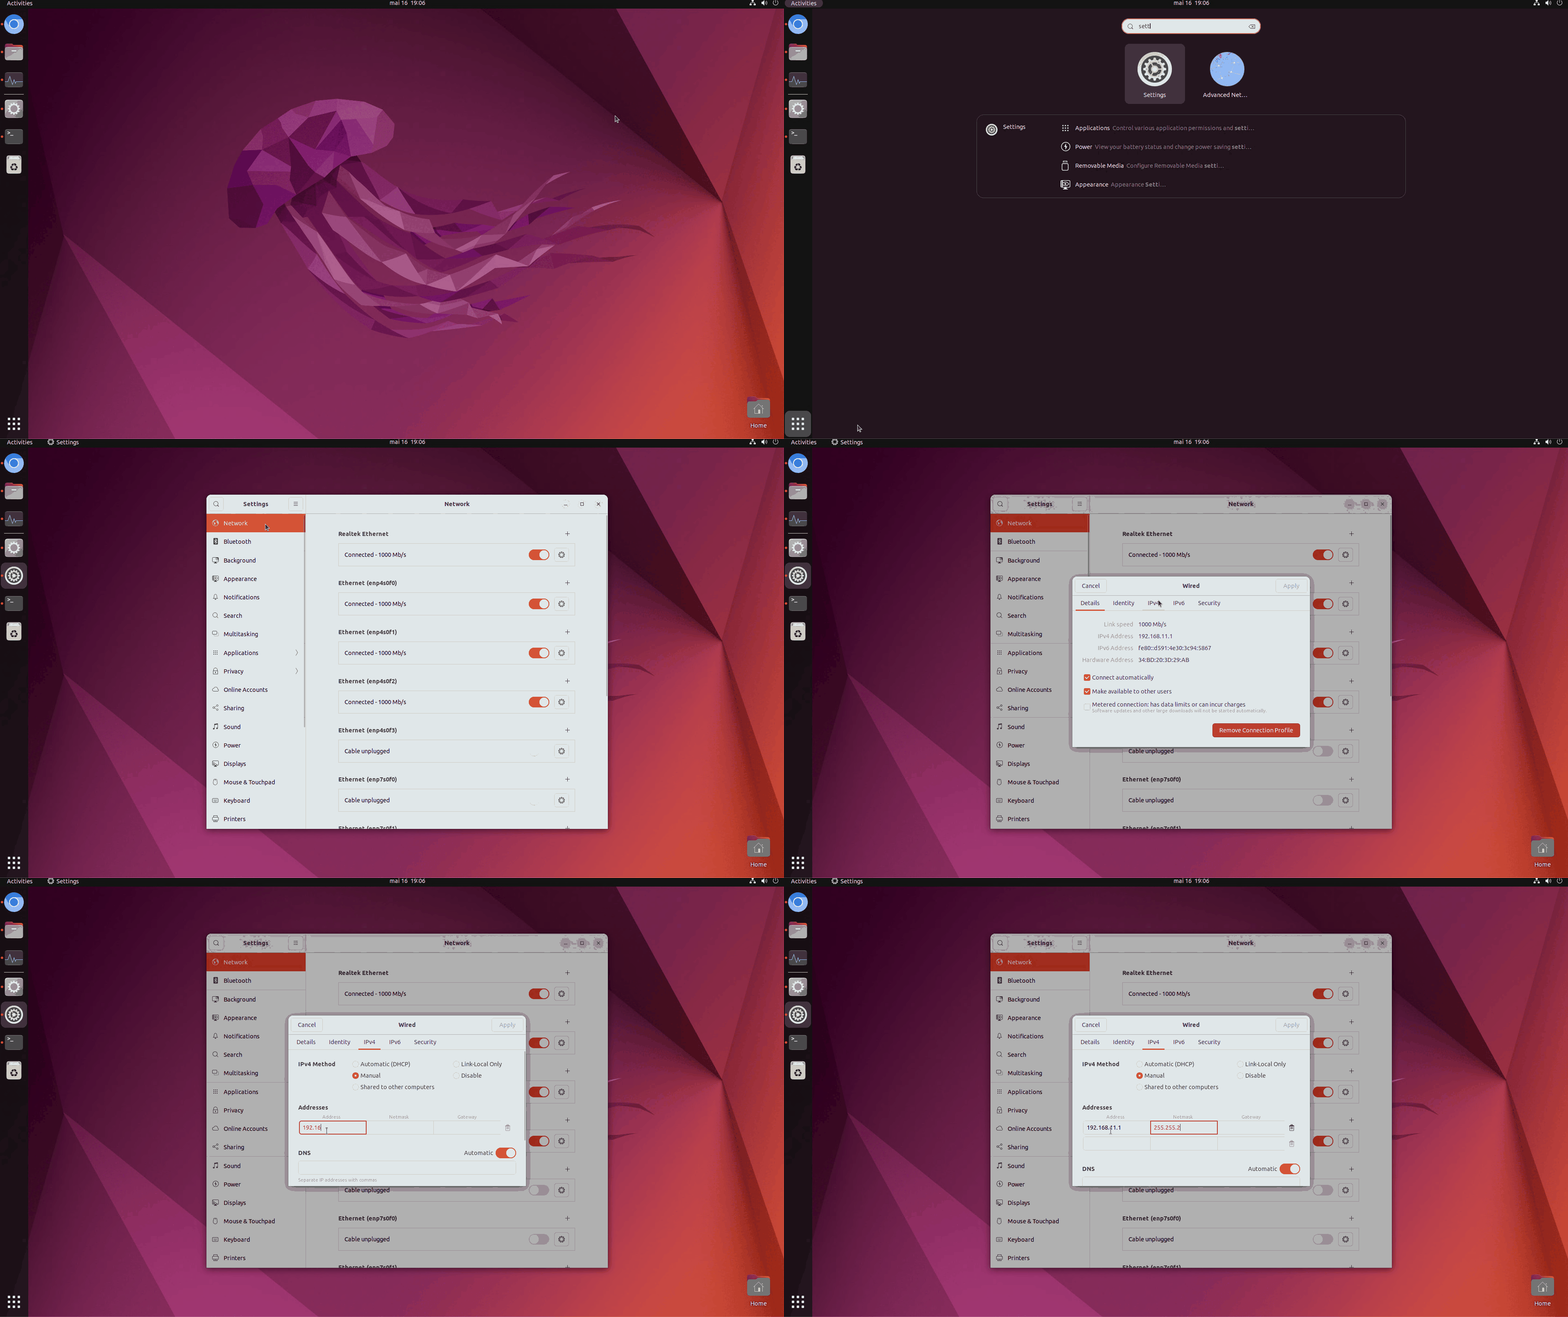
Sensor initialization
Each sensor must be initialized with the IP address corresponding to its corresponding server port
Server port | Server Port | Server Port Mask | Sensor IP address | Sensor Mask |
1 | 192.168.11.1 | 255.255.255.252 | 192.168.11.2 | 255.255.255.252 |
2 | 192.168.11.5 | 255.255.255.252 | 192.168.11.6 | 255.255.255.252 |
3 | 192.168.11.9 | 255.255.255.252 | 192.168.11.10 | 255.255.255.252 |
4 | 192.168.11.13 | 255.255.255.252 | 192.168.11.14 | 255.255.255.252 |
5 | 192.168.11.17 | 255.255.255.252 | 192.168.11.18 | 255.255.255.252 |
6 | 192.168.11.21 | 255.255.255.252 | 192.168.11.22 | 255.255.255.252 |
7 | 192.168.11.25 | 255.255.255.252 | 192.168.11.26 | 255.255.255.252 |
8 | 192.168.11.29 | 255.255.255.252 | 192.168.11.30 | 255.255.255.252 |
For example, if you have a pro4 server with 4 sensors, you should configure the sensors this way :
Sensor initialized with IP
192.168.11.2 can be wired only to port 1 → label it sensor #1
Sensor initialized with IP 192.168.11.6 can be wired only to port 2 → to be labelled sensor #2
Sensor initialized with IP 192.168.11.10 can be wired only to port 3 → to be labelled sensor #3
Sensor initialized with IP 192.168.11.14 can be wired only to port 4 → to be labelled sensor #4Advanced

IP address initialization tutorial for each sensor is there : Sensors
Sensors Once initialized, each sensor can only be plugged to its corresponding port, so please always label your sensor with the port number ! (and even better, also the IP address).


Server initialization
Finding the IP address of the server :  Finding the server IP address
Finding the server IP address Displaying the server interface :  LAN server access (web interface)
LAN server access (web interface) Advanced : Configuring the server with a static IP