
Setting up a touch wall with a LiDAR can be done similarly as any other tracking space, but some adjustments can be made to make you life easier. This scenario can be hard to calibrate because of some noticeable differences with other workflows:
- LiDAR data is typically 2D and it needs to be fitted to Augmenta’s 3D worlds.
- LiDARs typically capture a lower number of points that are closer together
- Touch gesture is more precise and can be quite faster than walking people
This page will give you some pointers to calibrate Augmenta specifically for a LiDAR mounted over a wall to give it touch capacities. It will focus on the differences with a more traditional workflow, following the WebUI panel ordering.
Before following this tutorial, make sure that the LiDAR’s ray are as parallel as possible to the wall.
Scene setup
The scene size should be set up as lying on the floor, with Z as height axis and X as width axis. The Y axis will only be used for display, so any value will do. We recommend 0.5.
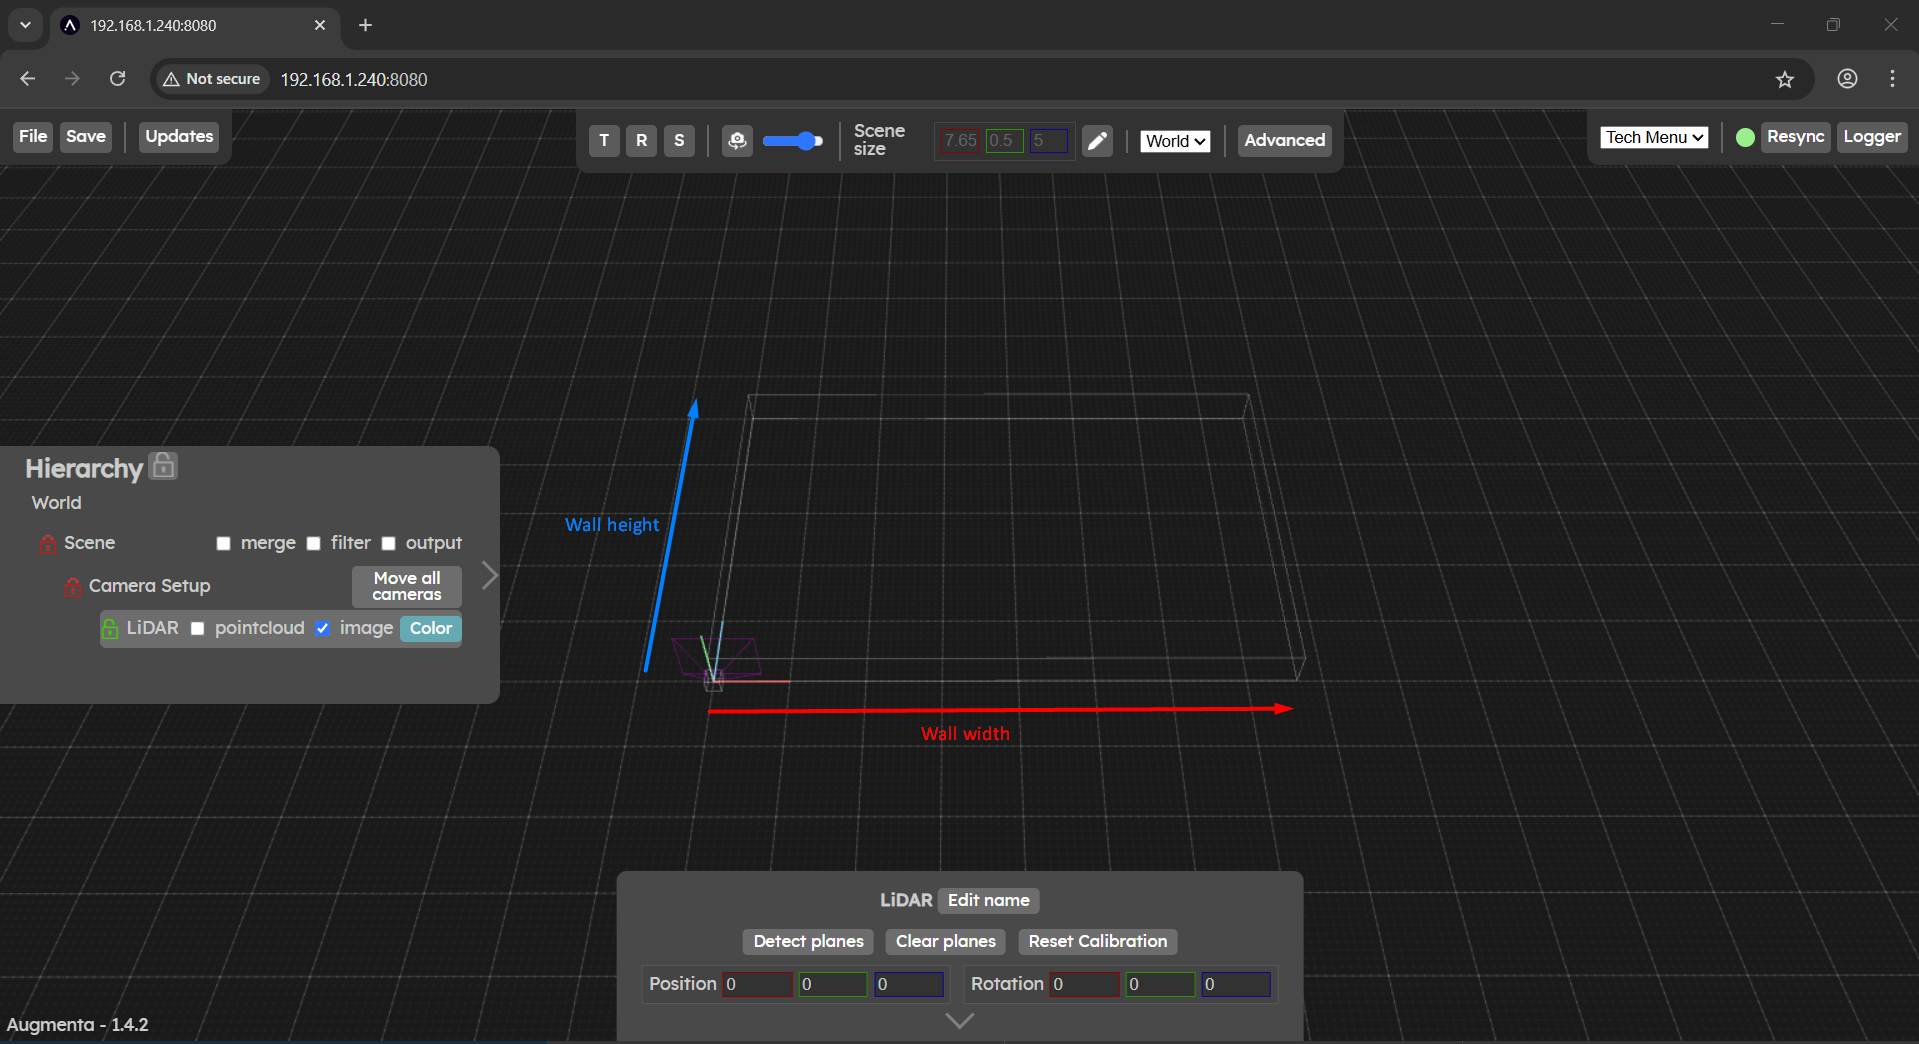
Adjust
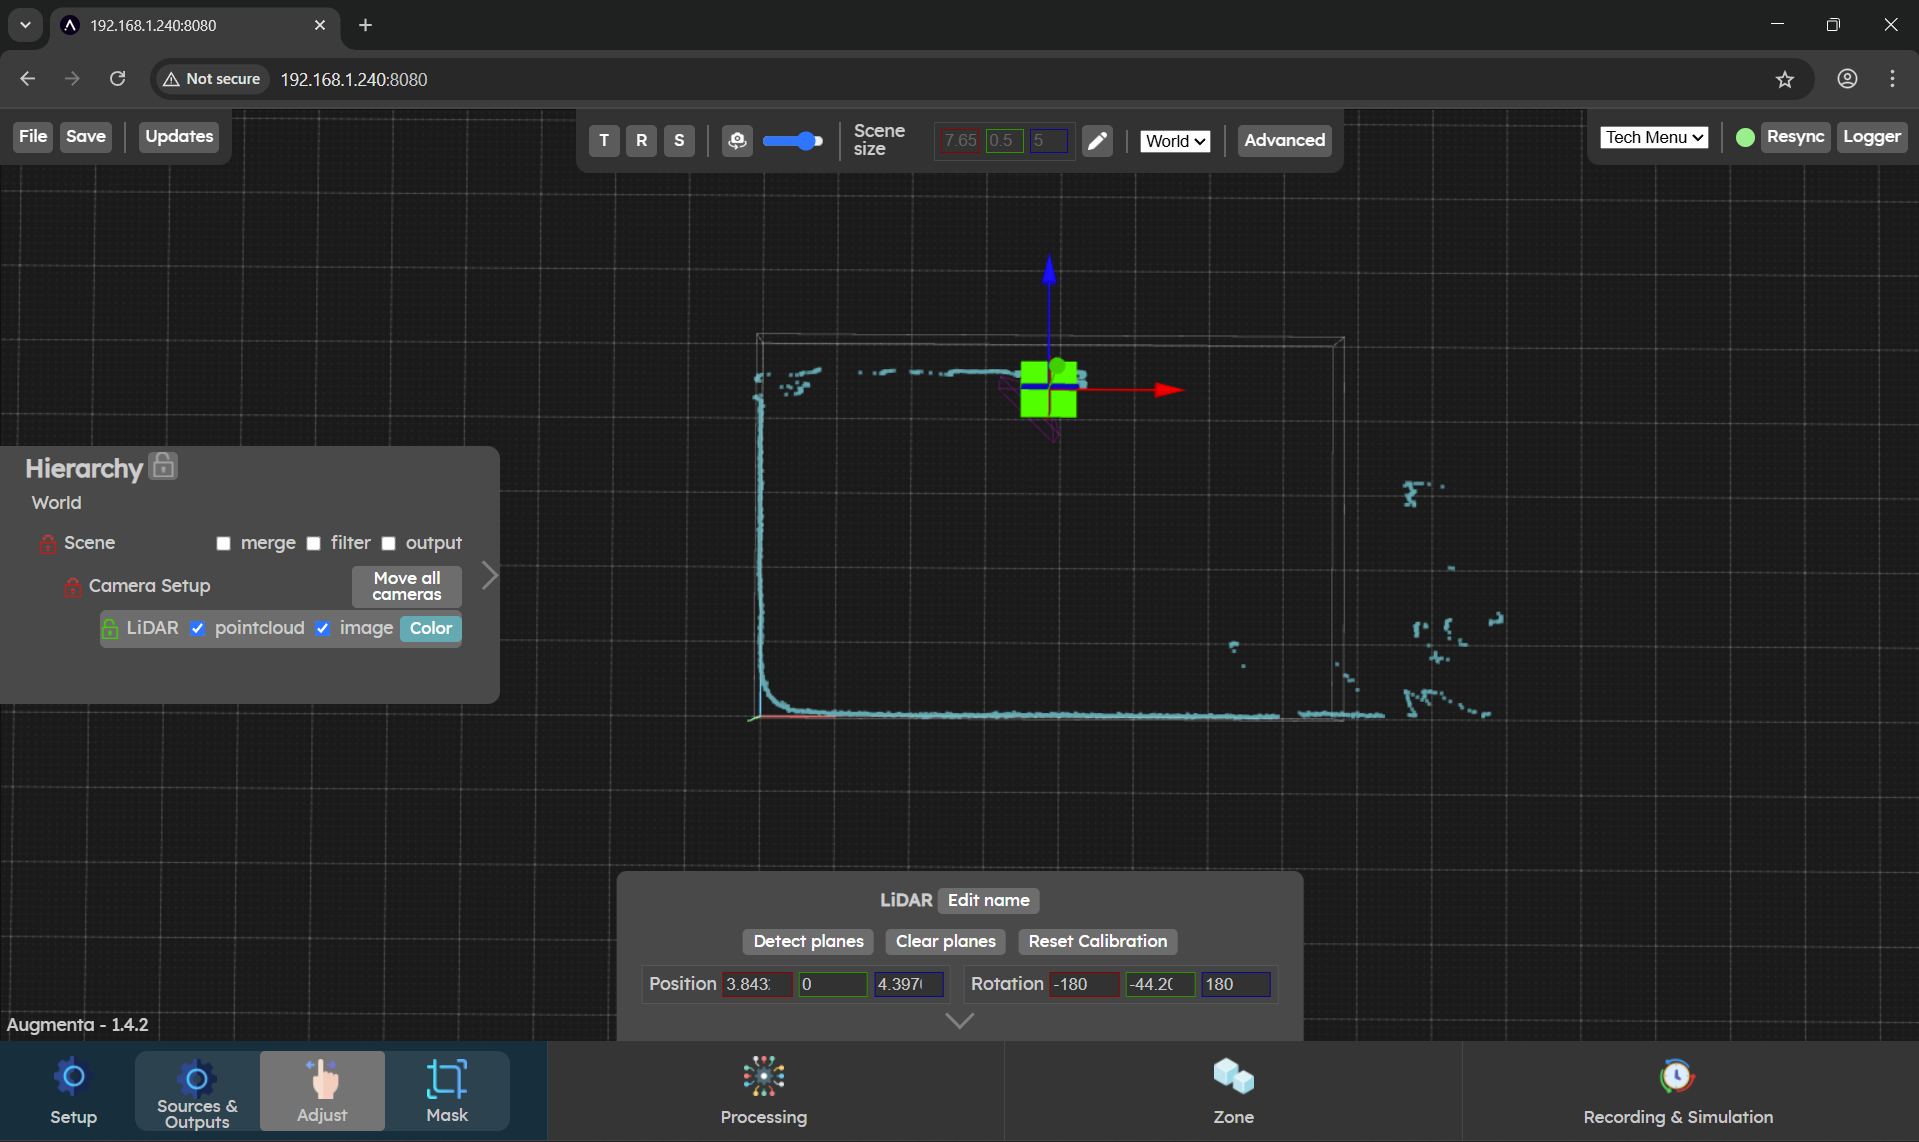
- If the LiDARs is touching the floor, or perpendicular walls, they can be used as reference (see in the following picture the floor and the wall on the left).
- Make sure to put your hand on the wall and swipe around to check if the LiDAR is not flipped/mirrored. If it it the case, add a 180° rotation on the Z axis.
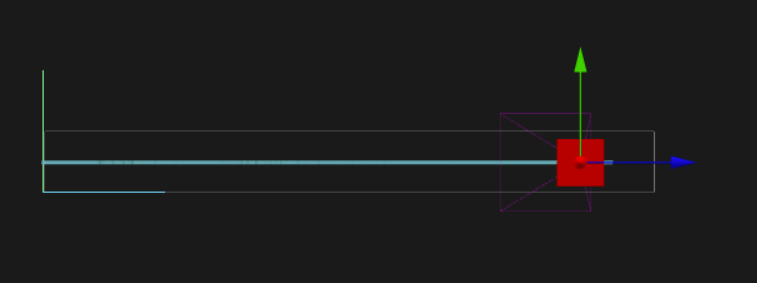
- You can also increase the position on Y a bit for a better visualization.
Processing
Filter
The filters can be difficult to tweak because of the low number of points.
- Do not hesitate to try with all filter toggled off.
- Outlier Removal will be overtuned by default. Lower both parameter.
- Voxel grid will probably not be useful (or with a very low Leaf Size)
Track
- Start by lowering Min Count to a very low number of points (2-3)
- Vertical Compression has no effect
- Ghosting must be turned off if you target “clicking” behaviour
Smooth
- Toggle on all smoothing options
- Try putting you hand against the wall without moving. If the bounding box is jittery, lower its smoothing parameters
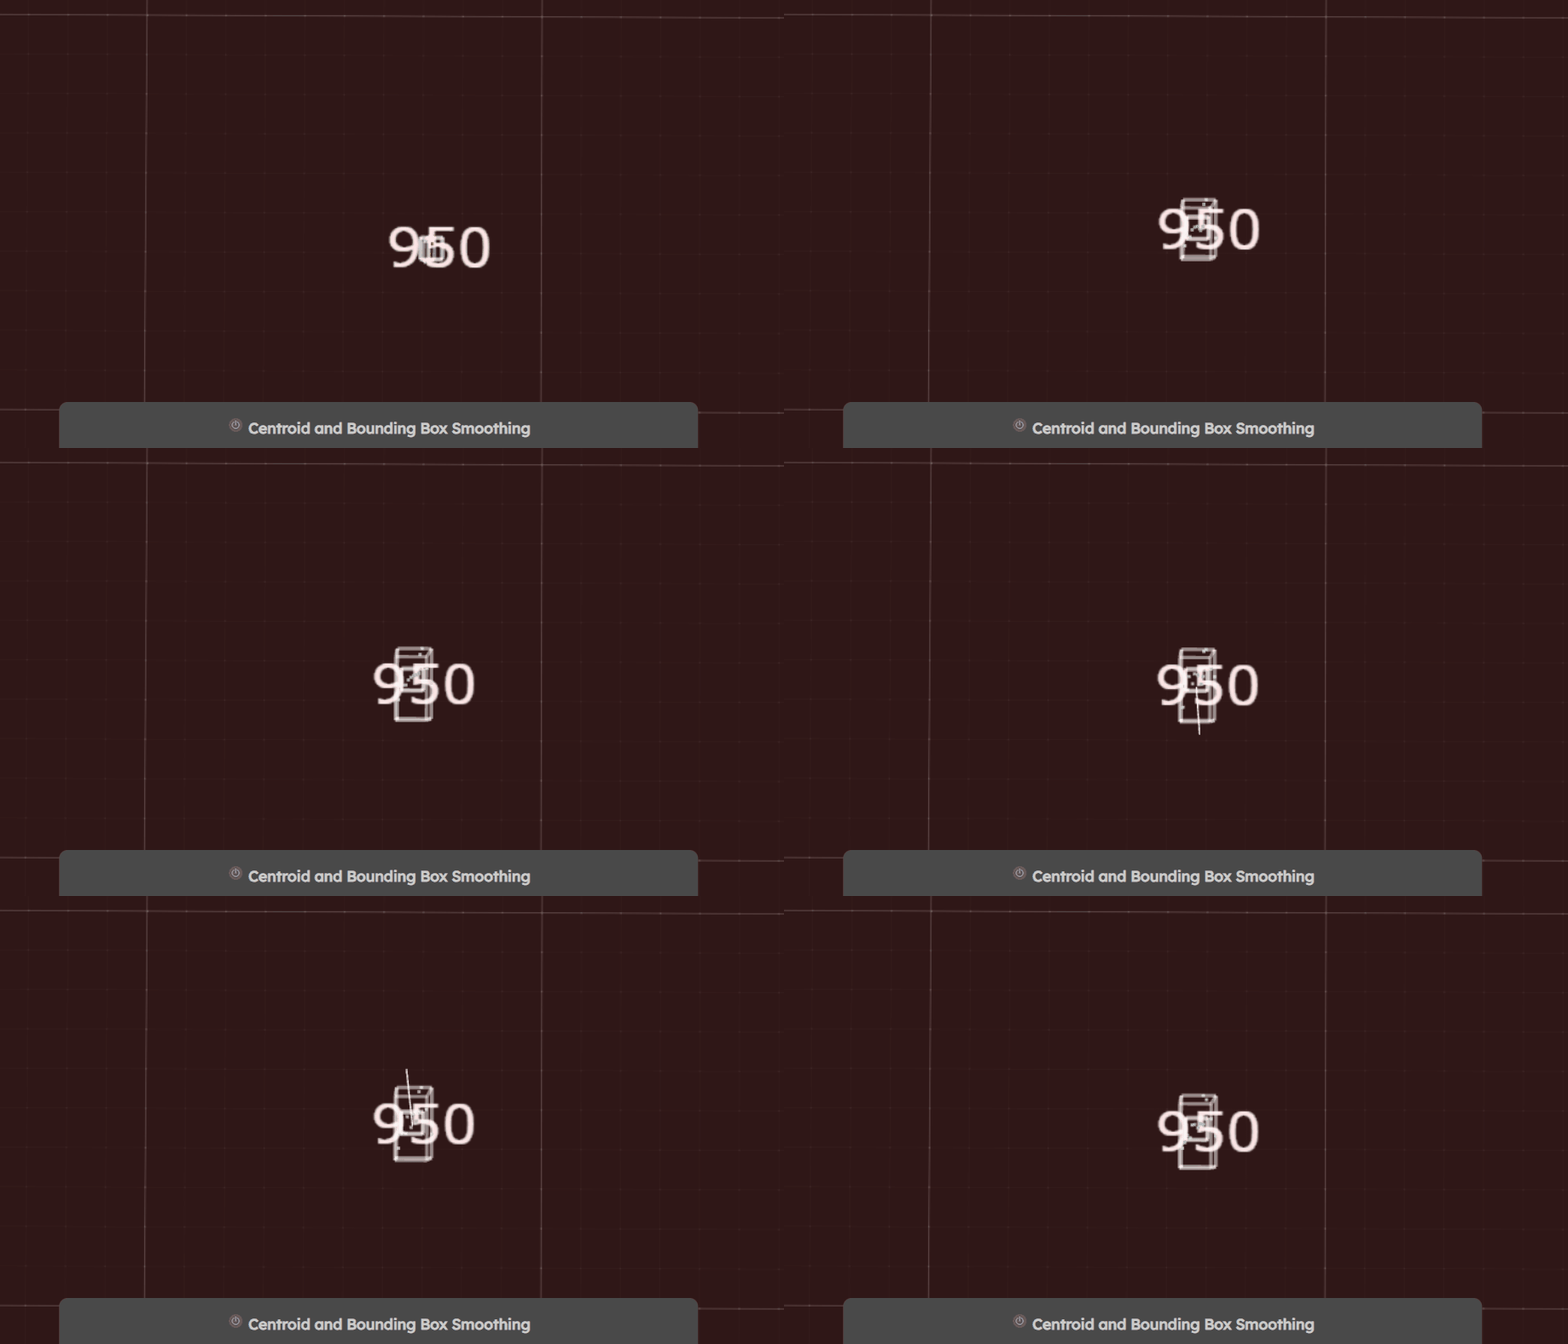
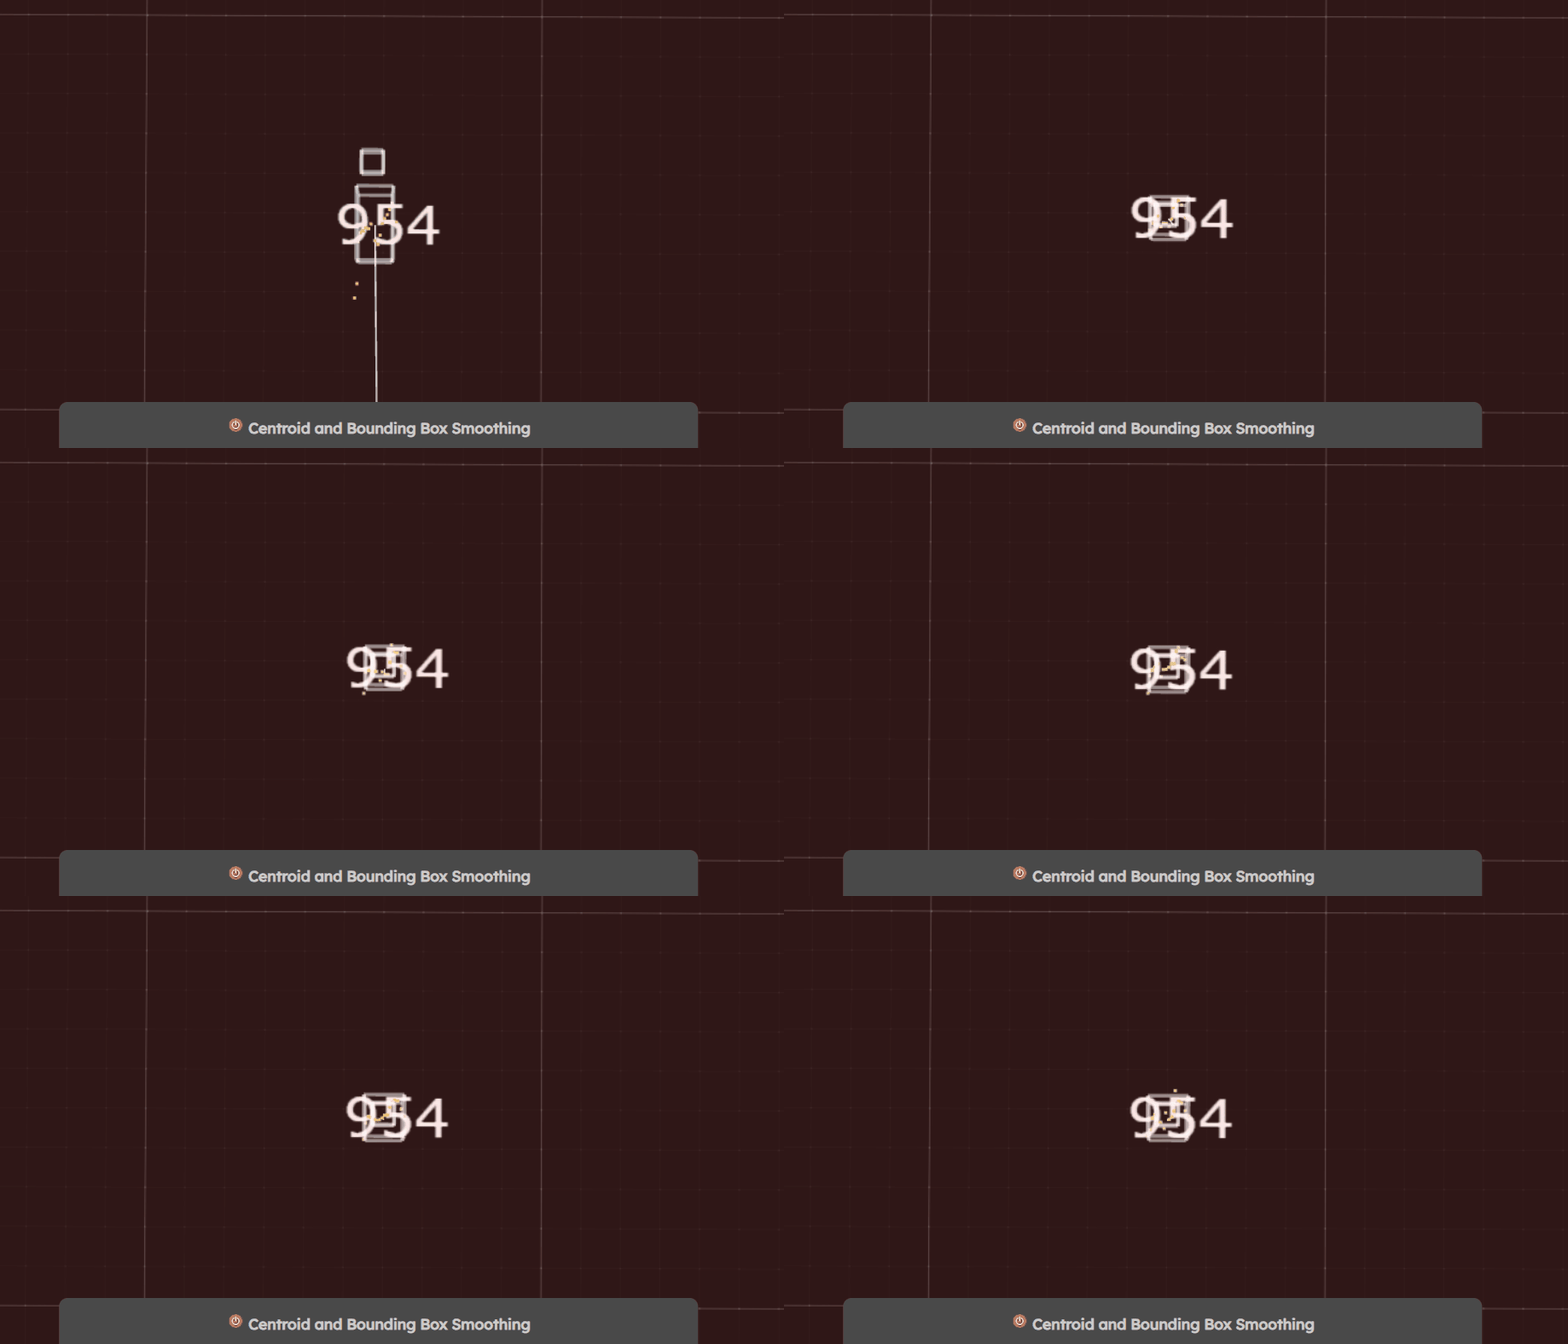
- Prediction Strength is especially important for precise motion detection. Try moving your hand around at different speed. If the bounding box is trailing behind, increase the strength. If it “bounces” too much when you stop, lower it.
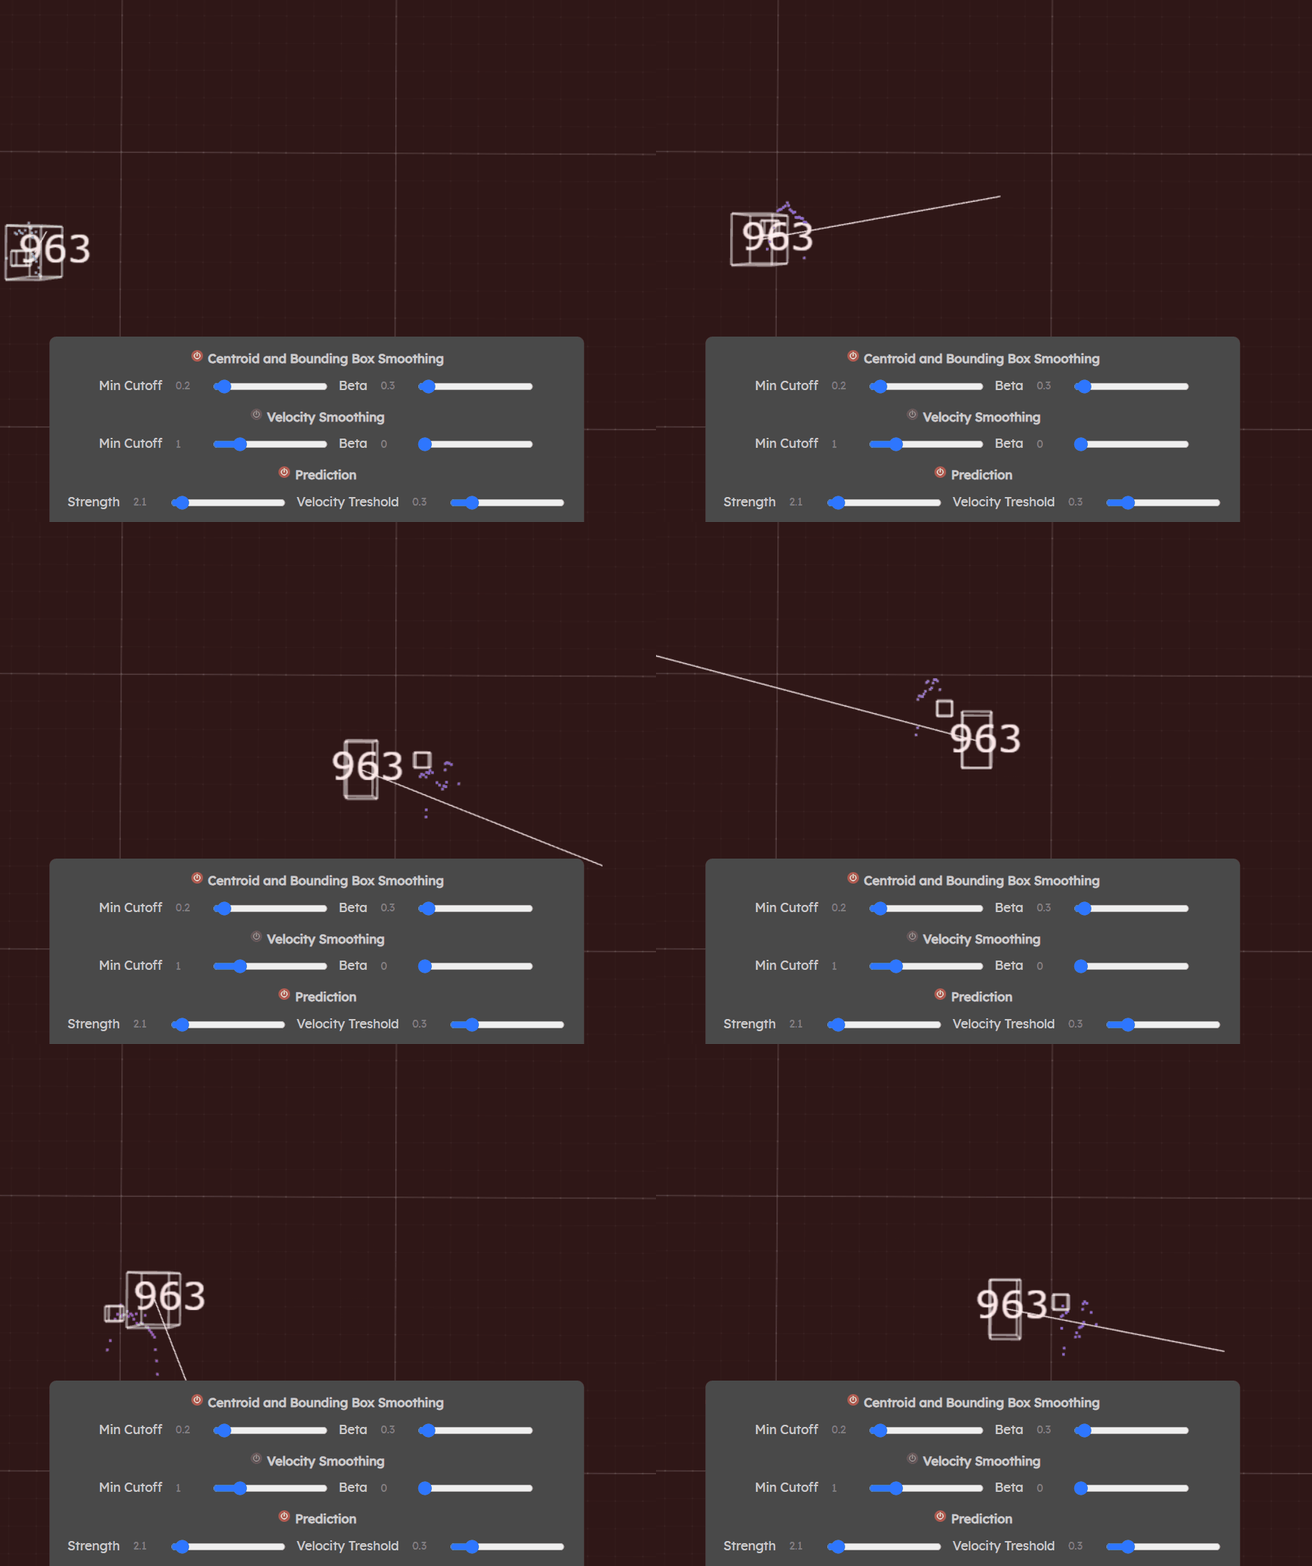
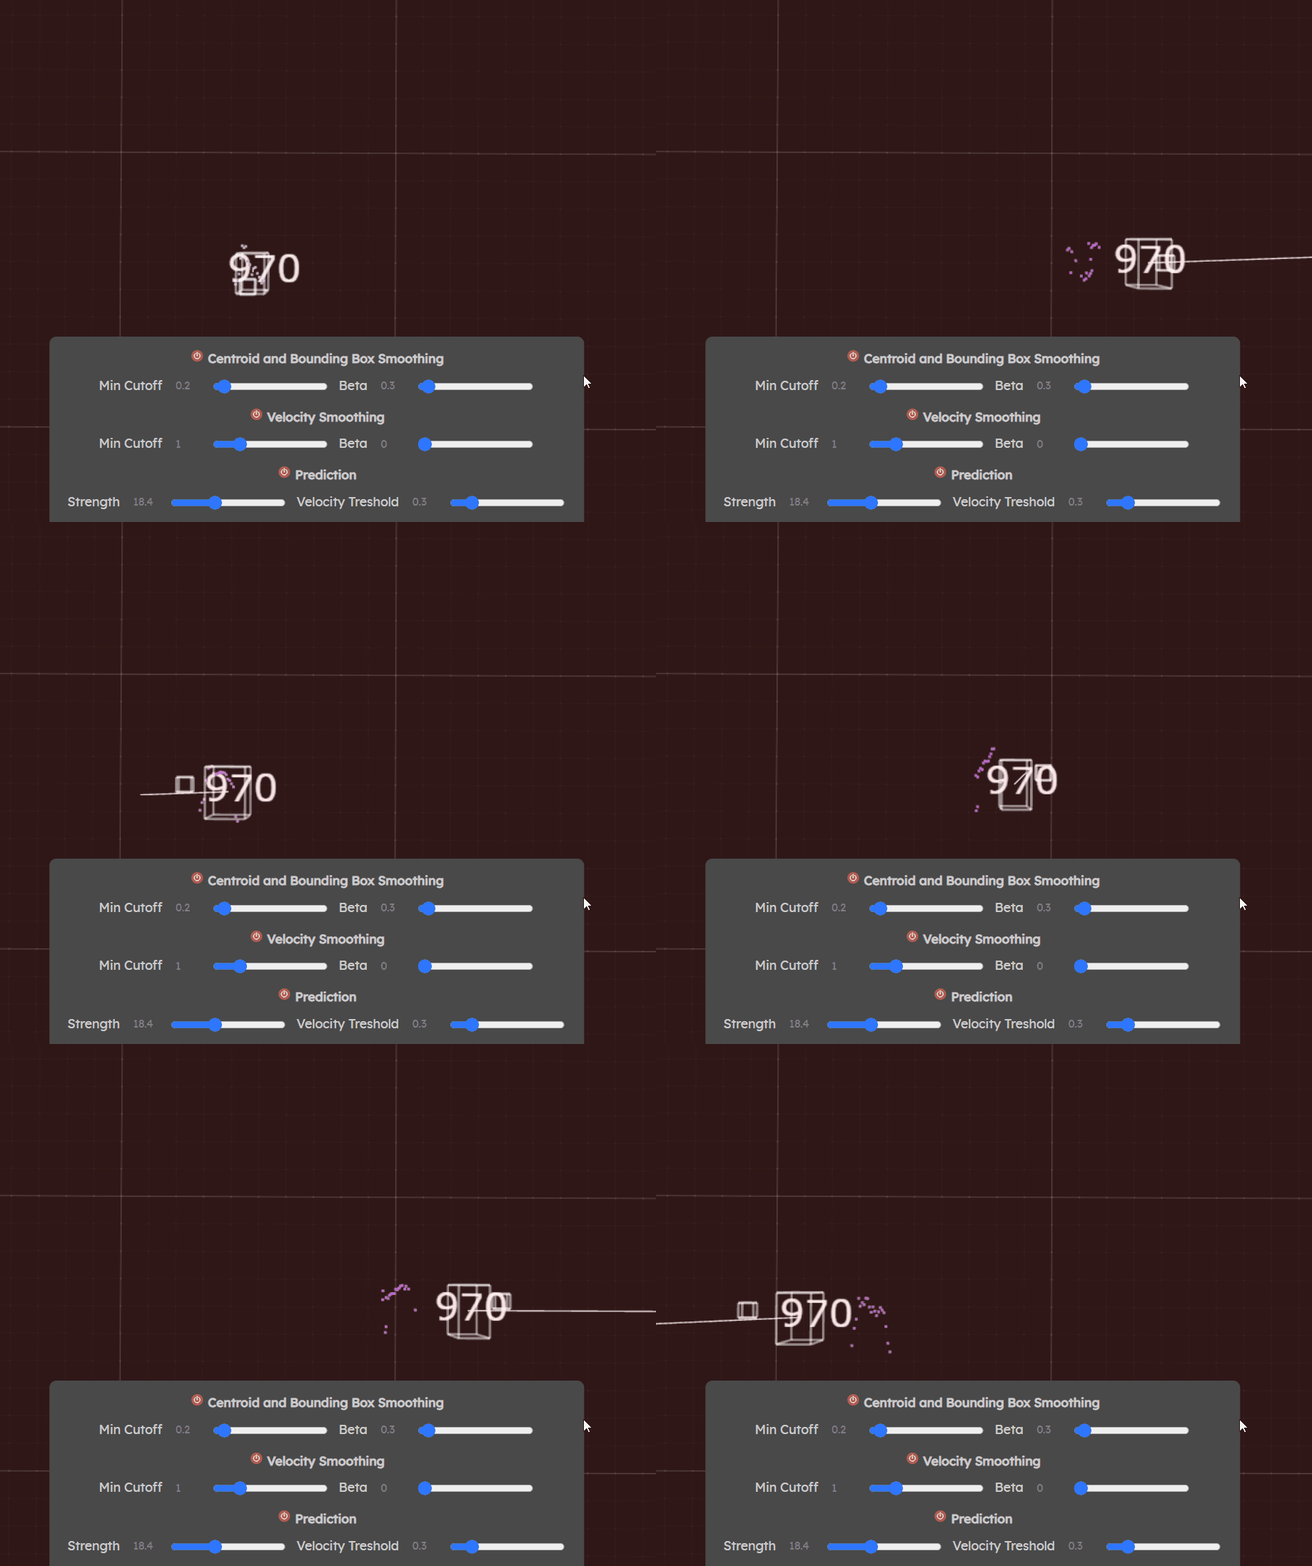
- If the motion is jittery with prediction, lower the velocity smoothing parameters