
IP address setup
Good practice : If you already have the IP address of your sensor, you can directly use the SOPAS Air web interface, if not you can use the SOPAS ET software (or your own way) to find the IP address of the sensor
With SOPAS ET software
- Download the configuration software: “SOPAS ET” on Sopas download page
- Install SOPAS ET on a Windows computer
- Power on the sensor and connect an ethernet cable to the computer running SOPAS 👉 PoE only sensors : use a PoE injector or a PoE switch 👉 Standard sensors : use either PoE or the power provided power supply 👉No need to manually set an IP on the network interface where the sensor is connected, SOPAS will find the sensor automatically
⚠️
The first time you connect a new sensor to SOPAS, you might get a message saying that you do not have the proper SDD / driver file for the sensor. In this case select the option “download the required file directly from the sensor” (not through the internet !). That’s the best way to ensure you have the correct config file.
- Open the SOPAS ET app. Detect and add the sensor as described below
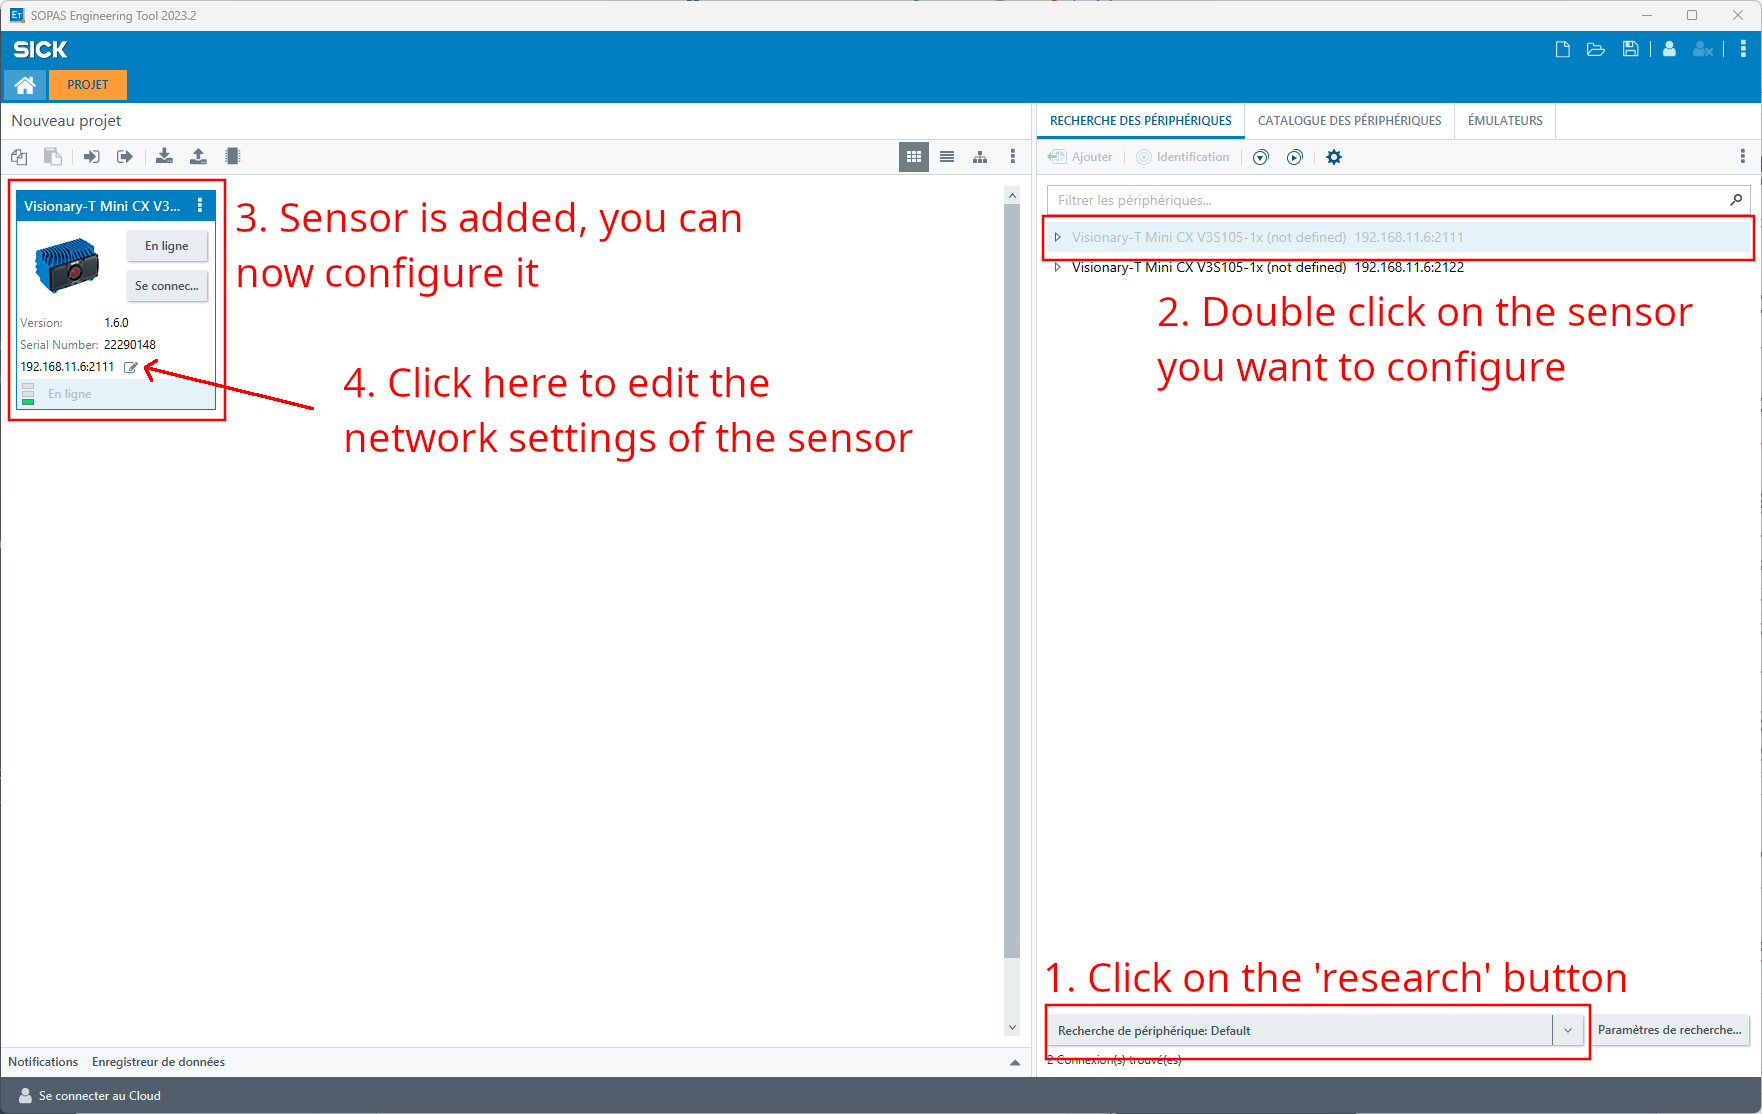
- After opening SOPAS ET, the app should automatically launch a detection of the sensors. If not, you can click on the button in step (1) of the screenshot below to launch a detection.
- Once a sensor is in the left project panel, you can click on the edit icon next to the IP address of the sensor (4) to edit its IP address.
💡
When SOPAS detects sensors connected to your computer, it will add them in a list of sensor in the "Peripherals Research" panel. You will either have one or two entries per sensor, you can double click (2) on anyone of them to add it to the SOPAS project (left panel) and configure it (3).
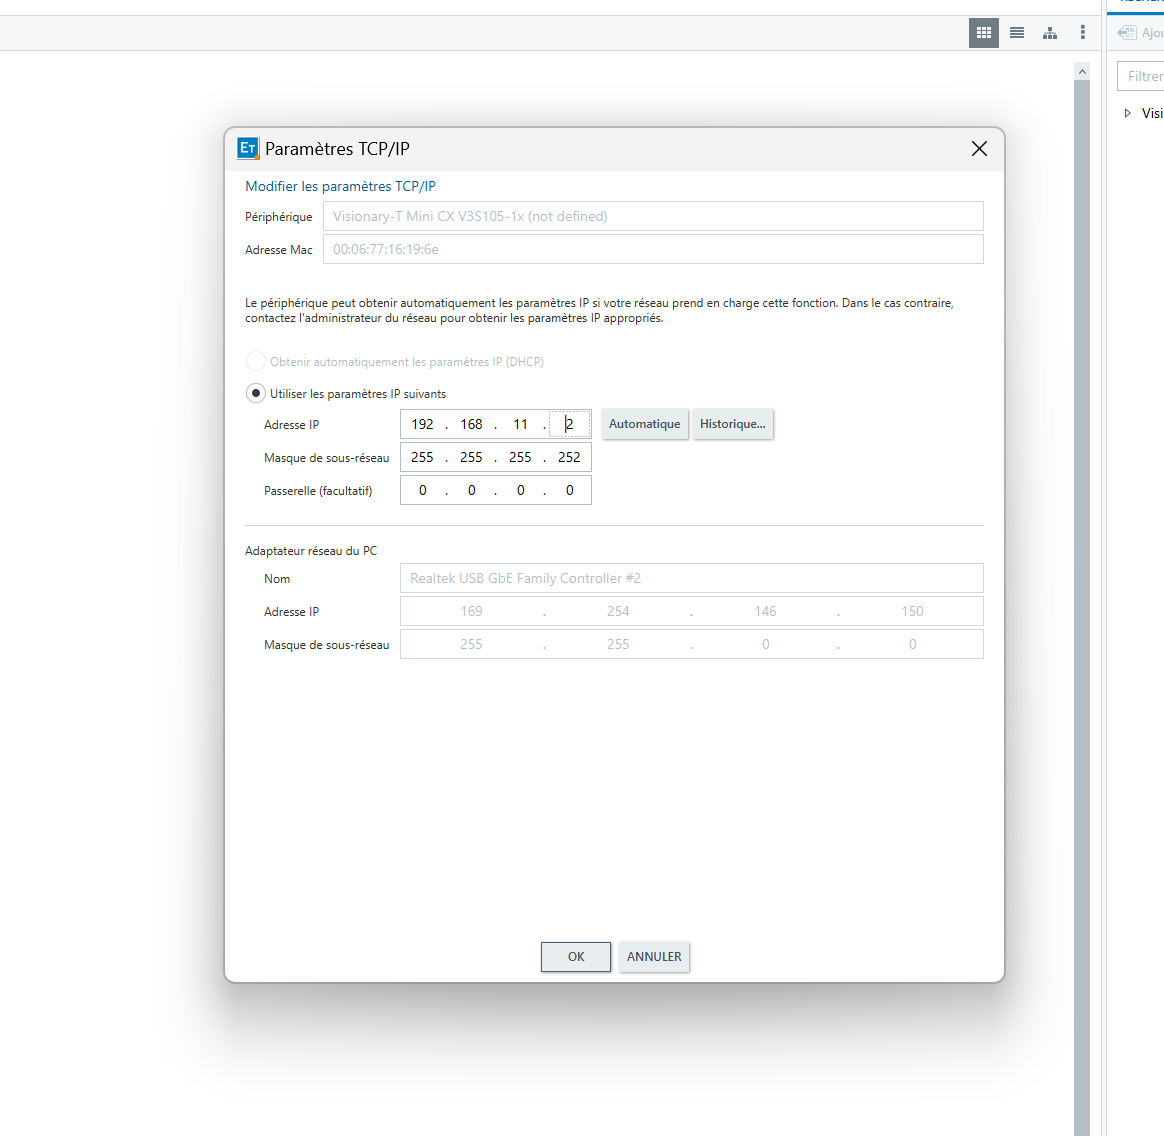
- Enter the network settings that you need according to the
⚠️
SOPAS might tell you that the new IP address does not correspond to any address of your local computer's network interfaces, you can ignore it.
👉 Good practice : mark the sensor IP on it and server port number
- Done 🙂 You can now wire the sensor to the Augmenta Server directly on the corresponding LAN port, see
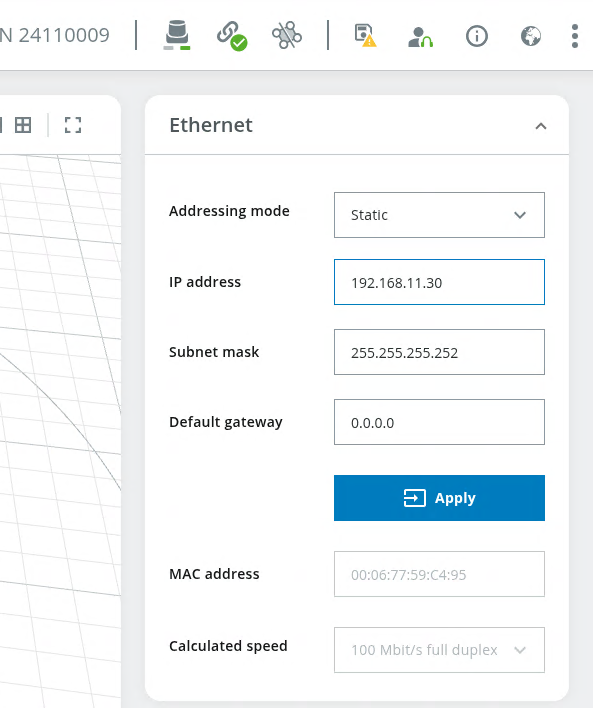
With SOPAS Air web interface
Recent SICK sensors have a web interface used for settings, commands, and diagnostics.
- Open a browser and access either
192.168.0.1or the configured IP address of the sensor (also accessible through SOPAS ET).
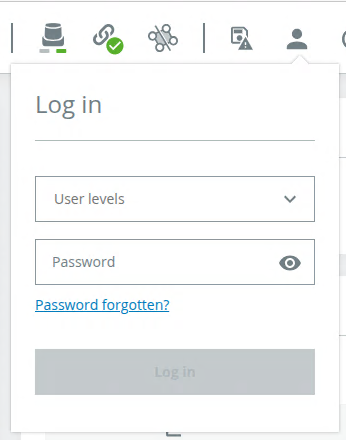
- To change some settings, you need to login. Use the level Service and use the password
servicelevel.
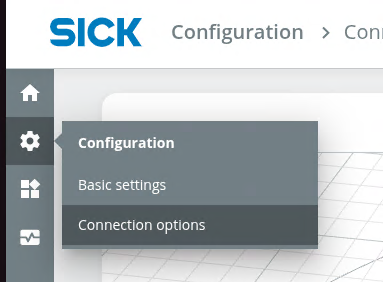
- Navigate to Configuration > Connection Options by selecting the cog in the left menu or clicking on the ip address
- Write the new IP address and Subnet mask in the appropriate field and click apply. IP address is defined based on the port used on the server, see
👉 Good practice : mark the sensor IP on the sensor and server port number
Resetting to factory defaults
- Go to the sensor web interface (SOPAS Air)
- On the top right corner, select the user panel, and log in with user level
Servicewith the password:servicelevel
- Click on the three dots on the top right > Device >
Reset to factory settings
After that the IP setup needs to be done again