
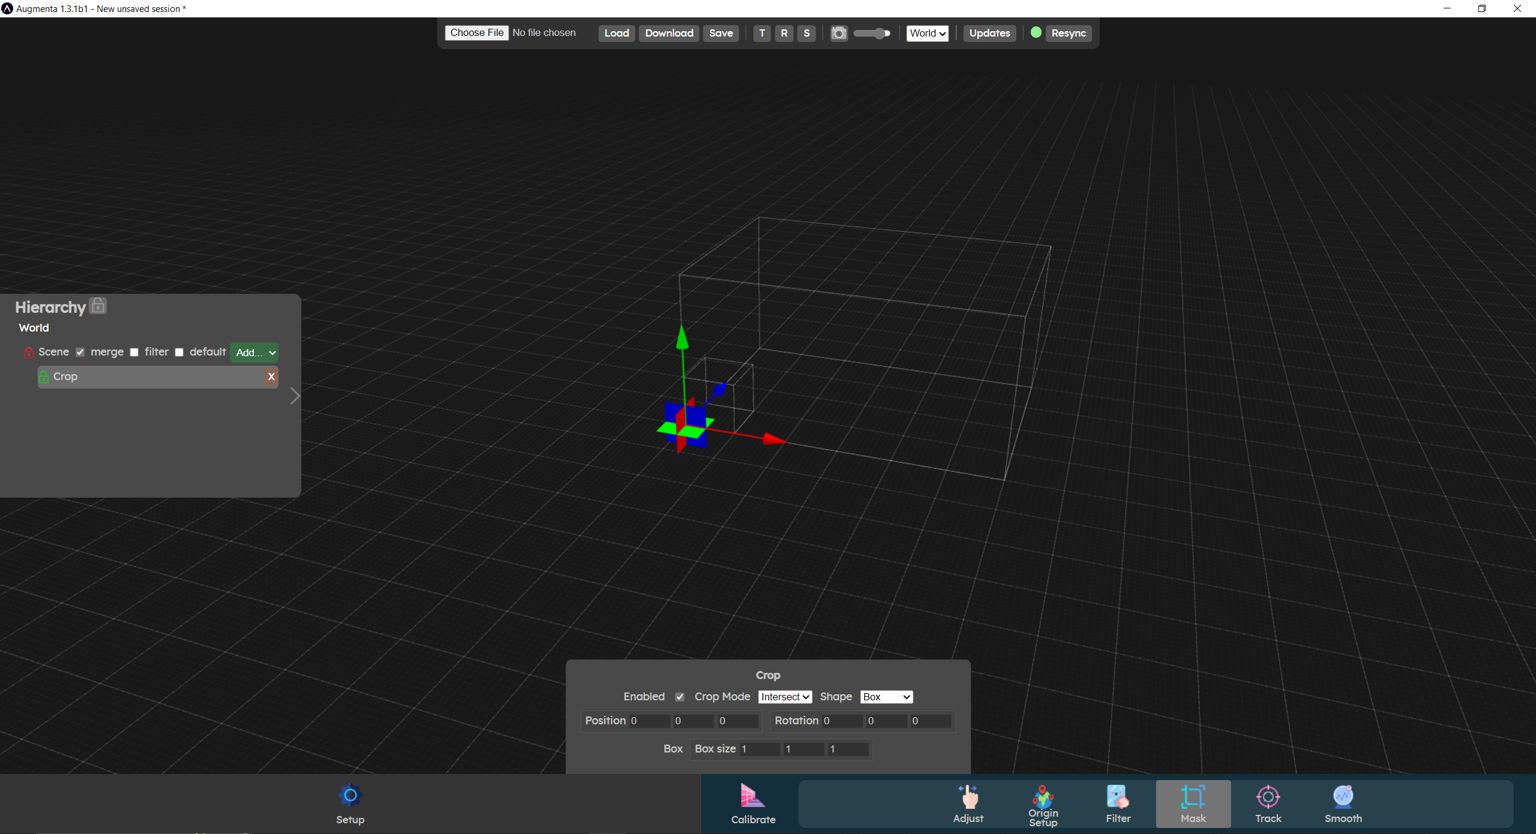
The Mask menu lets you add crop boxes. Crop boxes are used to remove all points in the point cloud that you don't want to track. For example, you generally don't want to track floors or walls. It can also be used to avoid tracking an object that is permanently in the space, such as a table.
To add a crop box, click on the Add dropdown at the top of the hierarchy and click on Crop. This will add a new crop object in the hierarchy.
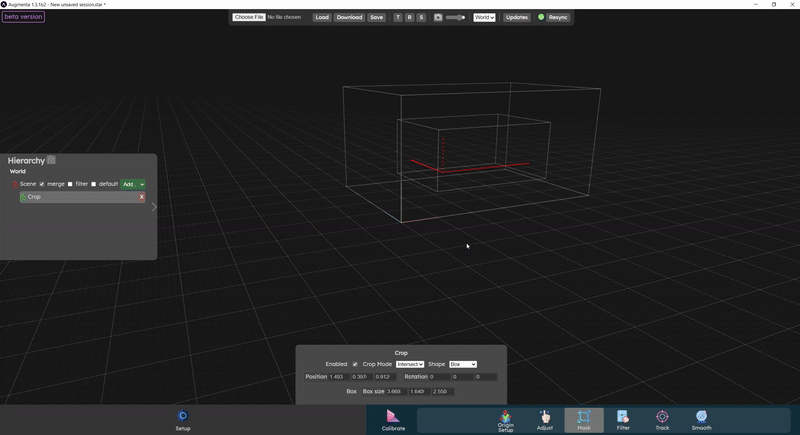
Cropping status
When a crop box turns red, it means that it is deleting points from the point cloud. This can be useful when, for example, no points appear in the scene, but a crop box removes all points.
Crop modes
The crop shapes are evaluated one after the other, in the order they are displayed in the hierarchy panel.
Each crop is fed the resulting pointcloud from the previous box. For example if you have 2 crops, the first one is fed the full merged pointcloud, then the second one is fed the result of the first crop processing. The result of the crop processing on the fed pointcloud depends on the mode the crop is set to.
There are 3 different crop modes: intersect, subtract and add.
- In intersect mode, all points in the point cloud outside the crop box are deleted.
- In substract mode, all points inside the crop box are deleted.
- In add mode, all points from the original pointcloud (unaltered by any crop) that are within the crop are added back to the result pointcloud.
Crop shapes
You can also change the shape of the crop box to better match your needs. Click on a crop in the hierarchy and in this crop's parameter in the bottom panel you can change the Shape parameter.
Video tutorial
This video explains the process of adding and configuring crop boxes to pick only the data you need for tracking.
Now let’s check the  Track panel