
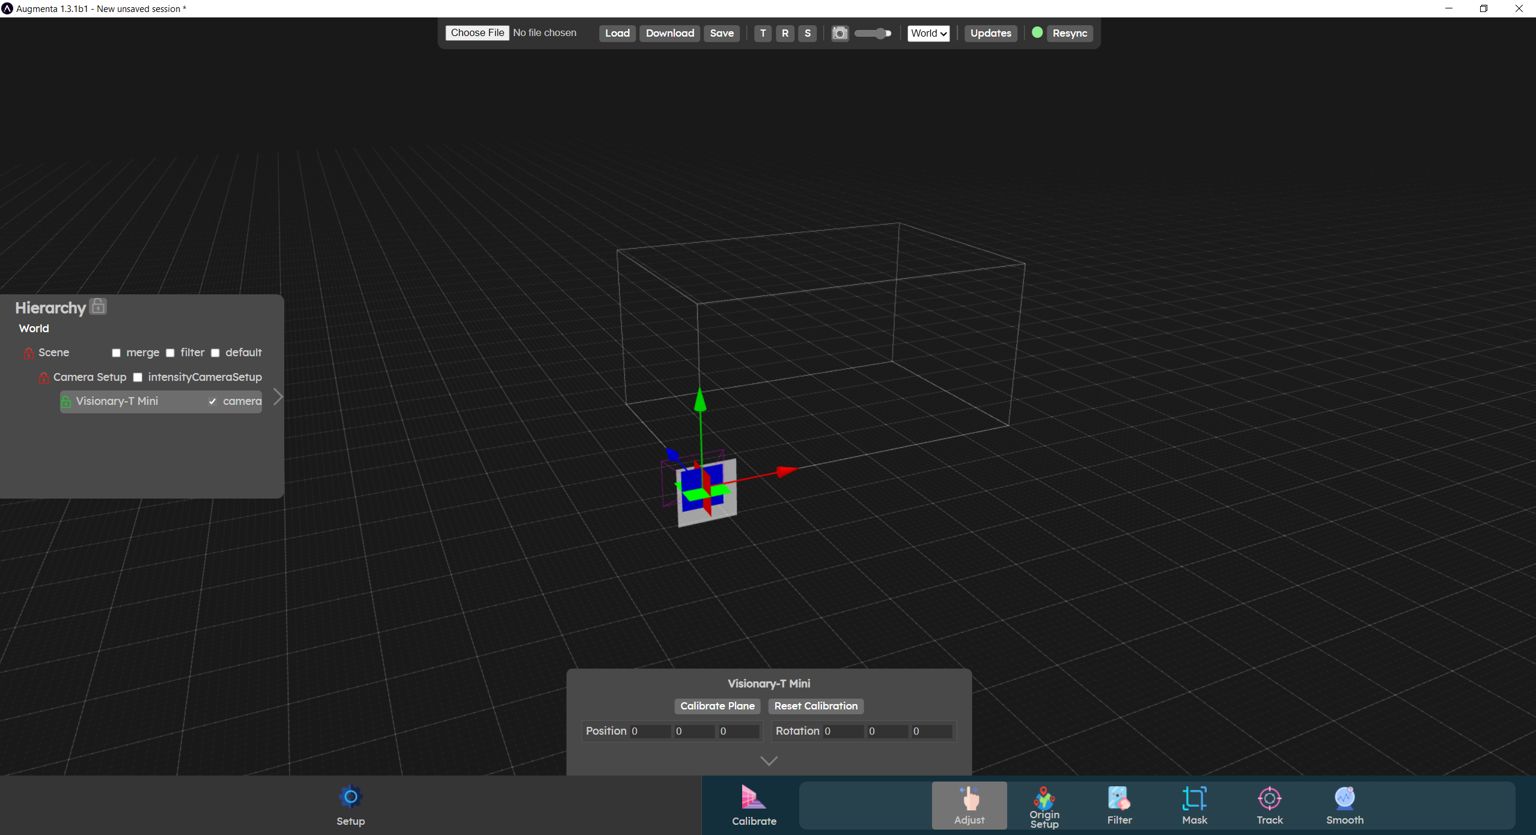
The Adjust menu is used to align the cameras in your scene together. This procedure is done in 2 steps: first, align the floor in your camera's pointcloud with the 3D world floor, then align the cameras with each other to correctly reconstruct the space when several cameras are present.
To align the cameras in your scene, it's important to follow the steps below
- Calibrate the floor: first of all, it's important to align the pointcloud floor with the 3D world floor. Ground calibration is optimal when no camera translation or rotation parameters have been modified, so make sure your camera does not have any of those. Select the camera you wish to calibrate in the hierarchy panel and then click on the "Calibrate plane" button in the bottom panel. The planes found in the analysis will appear as coloured planes around the point cloud. Select the plane corresponding to the ground. The point cloud is automatically transformed to match this plane with the floor of the scene.
- Correct plan calibration (if necessary): if the ground of the point cloud is not perfectly aligned with the ground of the scene (this can happen when the pointcloud is noisy), it is important to correct the settings in the "Physical Camera" section. To access the Physical Camera parameters, you have to click on the arrow in the camera parameters in the bottom panel. For floor alignment, make sure to only use the Position and Rotation parameters in the Physical Camera section. This will ensure that the camera's gizmos is aligned with the floor of the scene, making it easier to move the camera in the future and avoid moving the ground plane.
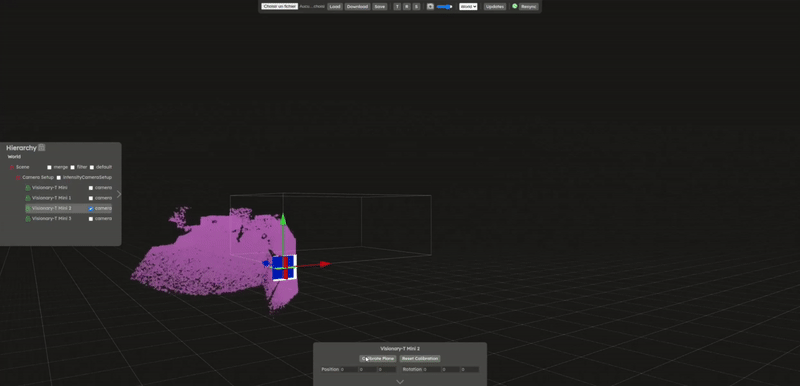
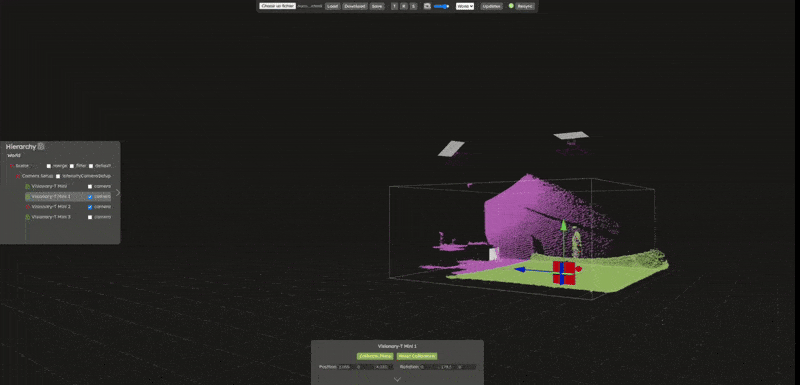
- Positioning the first camera: once the ground calibration is complete, the camera must be positioned in the scene. You only need to do this for one camera, even if you have multiple ones in your config. The others cameras will then be positioned according to the first camera. Place a physical marker in your space (e.g. a box) where you want the origin of your scene to be. Then move your camera around the scene to position the box on the scene origin. Remember to rotate the camera to align the walls with those in the scene if you have some. Otherwise, place other objects in your real world scene, that match the axis of the virtual world, to make sure the rotation of this first camera is correct.
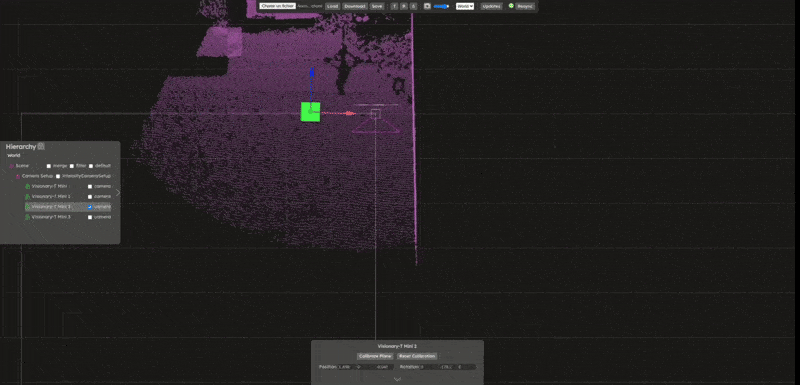
- Calibrate cameras: once a camera has been positioned, the other cameras must be positioned in relation to it. Place an object in the scene at the intersection of the first (already aligned) camera and the second one that you want to align. Move the second camera to match its point cloud with the point cloud of the first. Repeat this procedure for all the cameras in the scene, using one camera that is already aligned to align the remaining ones.
Do not hesitate to move around the scene, or change the 3D editor's camera mode to orthographic view, it can help to find out the best alignment.
Another useful setting to change is the downsampling of sources, sometimes lowering the density of the sources might help to find the best alignment.
Video tutorial
Now let’s check the  Filter panel