
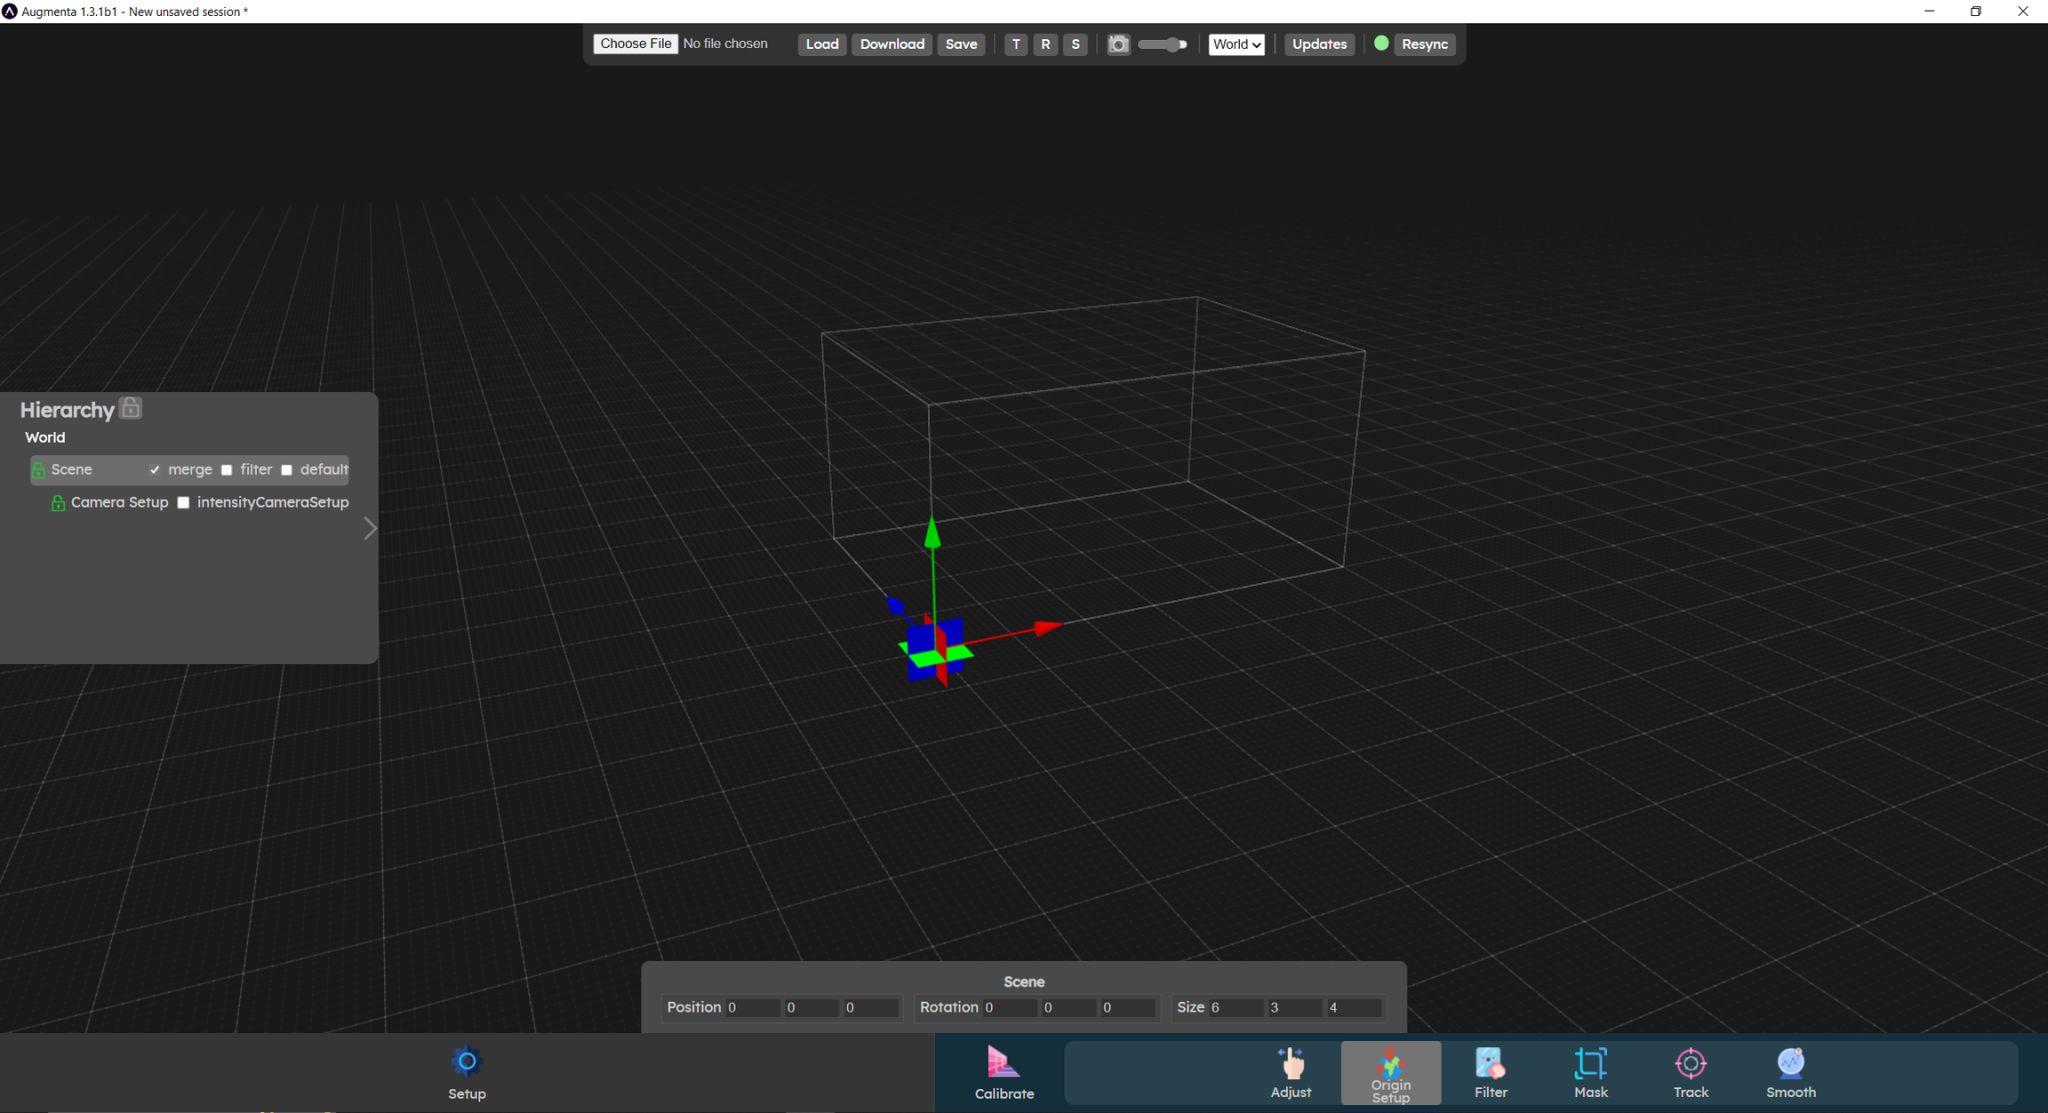
The Origin Setup menu is used to set the transforms of high level objects of your scene. The Scene parameters here are the first you want to set as they define your tracking space. You can also modify the Camera Setup parameters, to align your tracking data with the real world, at the end of the configuration.
Each menu panel has some filters that by default exclude some types of objects (cameras, crop volumes etc...). In the Origin Setup menu, only the Scene and Camera Setup(s) objects are shown.
Setting scene size
One of the first things you'll want to do is setting the scene size to the actual physical size of your tracking area.
You can also optionally change the scene's position or orientation in the 3D world. This is not mandatory and will depend on each project, it might be needed to match the 3D model of your scene in your creative software. If you're not sure if you should be moving your scene around, you probably do not need to.
Moving the camera setup object
The camera setup object is the parent of all the Camera objects in your scene. Camera objects are automatically added to your World when sources are added, they are responsible of taking your source's data in the tracking world and allow you to move them around.
As all the cameras are children of the Camera Setup object, moving the camera setup object moves all the Cameras at the same time. This can be useful at the end of the calibration, if you find out that there is a mismatch between the real-world position of people in your tracking area and the position of you tracking data.
For example you might find out the the circle that should be projected below the feet of each people as an offset for all people. You can correct this offset by moving the Camera Setup object.
Video tutorial
The scene setup process is explained in this video
Let’s now check the  Adjust panel