
The Sources & Ouputs submenu lets you configure sources, outputs and scene, displaying the Sources, Outputs and Scene panels (left, right and top).
- The green zone is used to manage sources. In this panel, you can add cameras or lidars, configure them and see which are properly connected.
- The blue zone lets you manage outputs. In this panel you can add outputs for various protocols and change their parameters.
- The brown zone is used to configure the scene. You can change its position, rotation and size.

Adding and setting up sources
Sensor configuration
Before adding a source, please ensure that your sensor has been correctly initialized. Please refer to the  Augmenta server initialization
For a quick check, you can always ping your sensor
Adding it to the active configuration
To add a source, click on the add drop-down menu in the sources panel. Select the source corresponding to your camera or lidar.
Network source
Enter the IP address of your sensor, then switch the source on (on/off button next to the source name).
Connection status
If the source connects successfully, the socket to the right of the source name will turn green. You'll see (for cameras only) a black-and-white image of what the camera is seeing.
Downsampling parameters
On all sources, you can also set the downsample value, which reduces image and point cloud quality but increases performance. A downsampling of 1 means that we use the whole source's data. A higher downsampling value mean that we are taking more and more data out.
Specific source parameter
Other parameters specific to a source type (such as the depth mode, onboard filters etc...) might be displayed in the bottom panel.
Below is a list of some camera specific filters described:
Visionary T- mini
Femto Mega
Adding and setting up outputs
Presets and plugins have already been created for each software, you can check them and download the examples in the creative documentation
To add an output, click on the add drop-down menu in the output panel. Select the output with the preset you need.
Enter the IP address of the computer to which you want the data to be sent, and the port on which the software receiving the data is listening. Depending on the output protocol and preset selected, other parameters are available.
The "creative software" presets that exist for each protocol are tailored to work with the plugins and examples we provide.
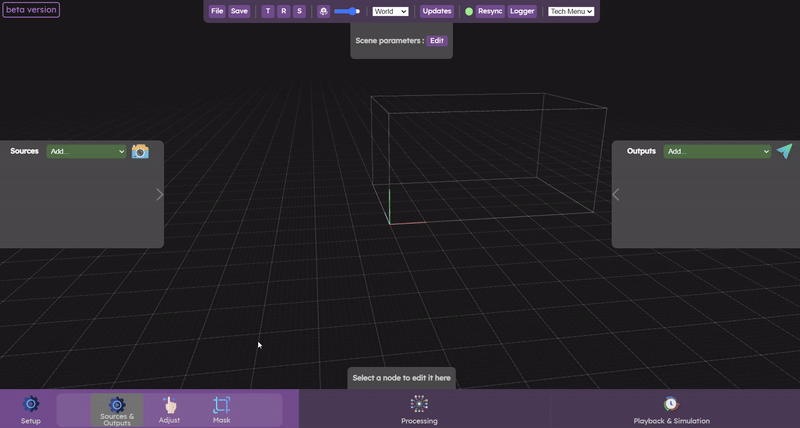
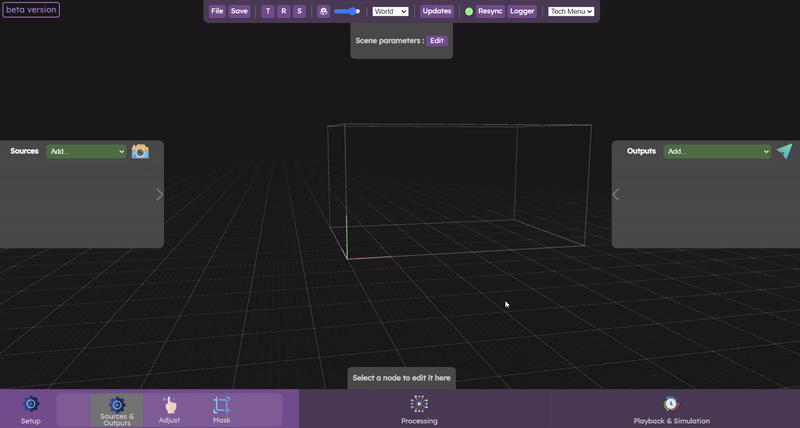
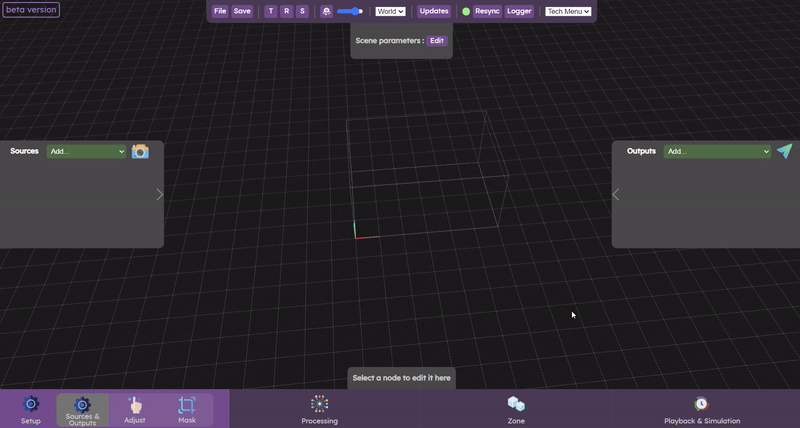
Setting scene size
The Scene parameters here are the first you want to set as they define your tracking space.
Each menu panel has some filters that by default exclude some types of objects (cameras, crop volumes etc...). In the Origin Setup menu, only the Scene and Camera Setup(s) objects are shown.
One of the first things you'll want to do is setting the scene size to the actual physical size of your tracking area.
Click on the Scene parameter edit button to change the scene size. Once you've set the correct parameters, click on “Stop editing”.
You can also optionally change the scene's position or orientation in the 3D world. This is not mandatory and will depend on each project, it might be needed to match the 3D model of your scene in your creative software. If you're not sure if you should be moving your scene around, you probably do not need to.
Video walkthrough
This videos shows how to add and configure sources and outputs:
Now let’s check the  Adjust panel