
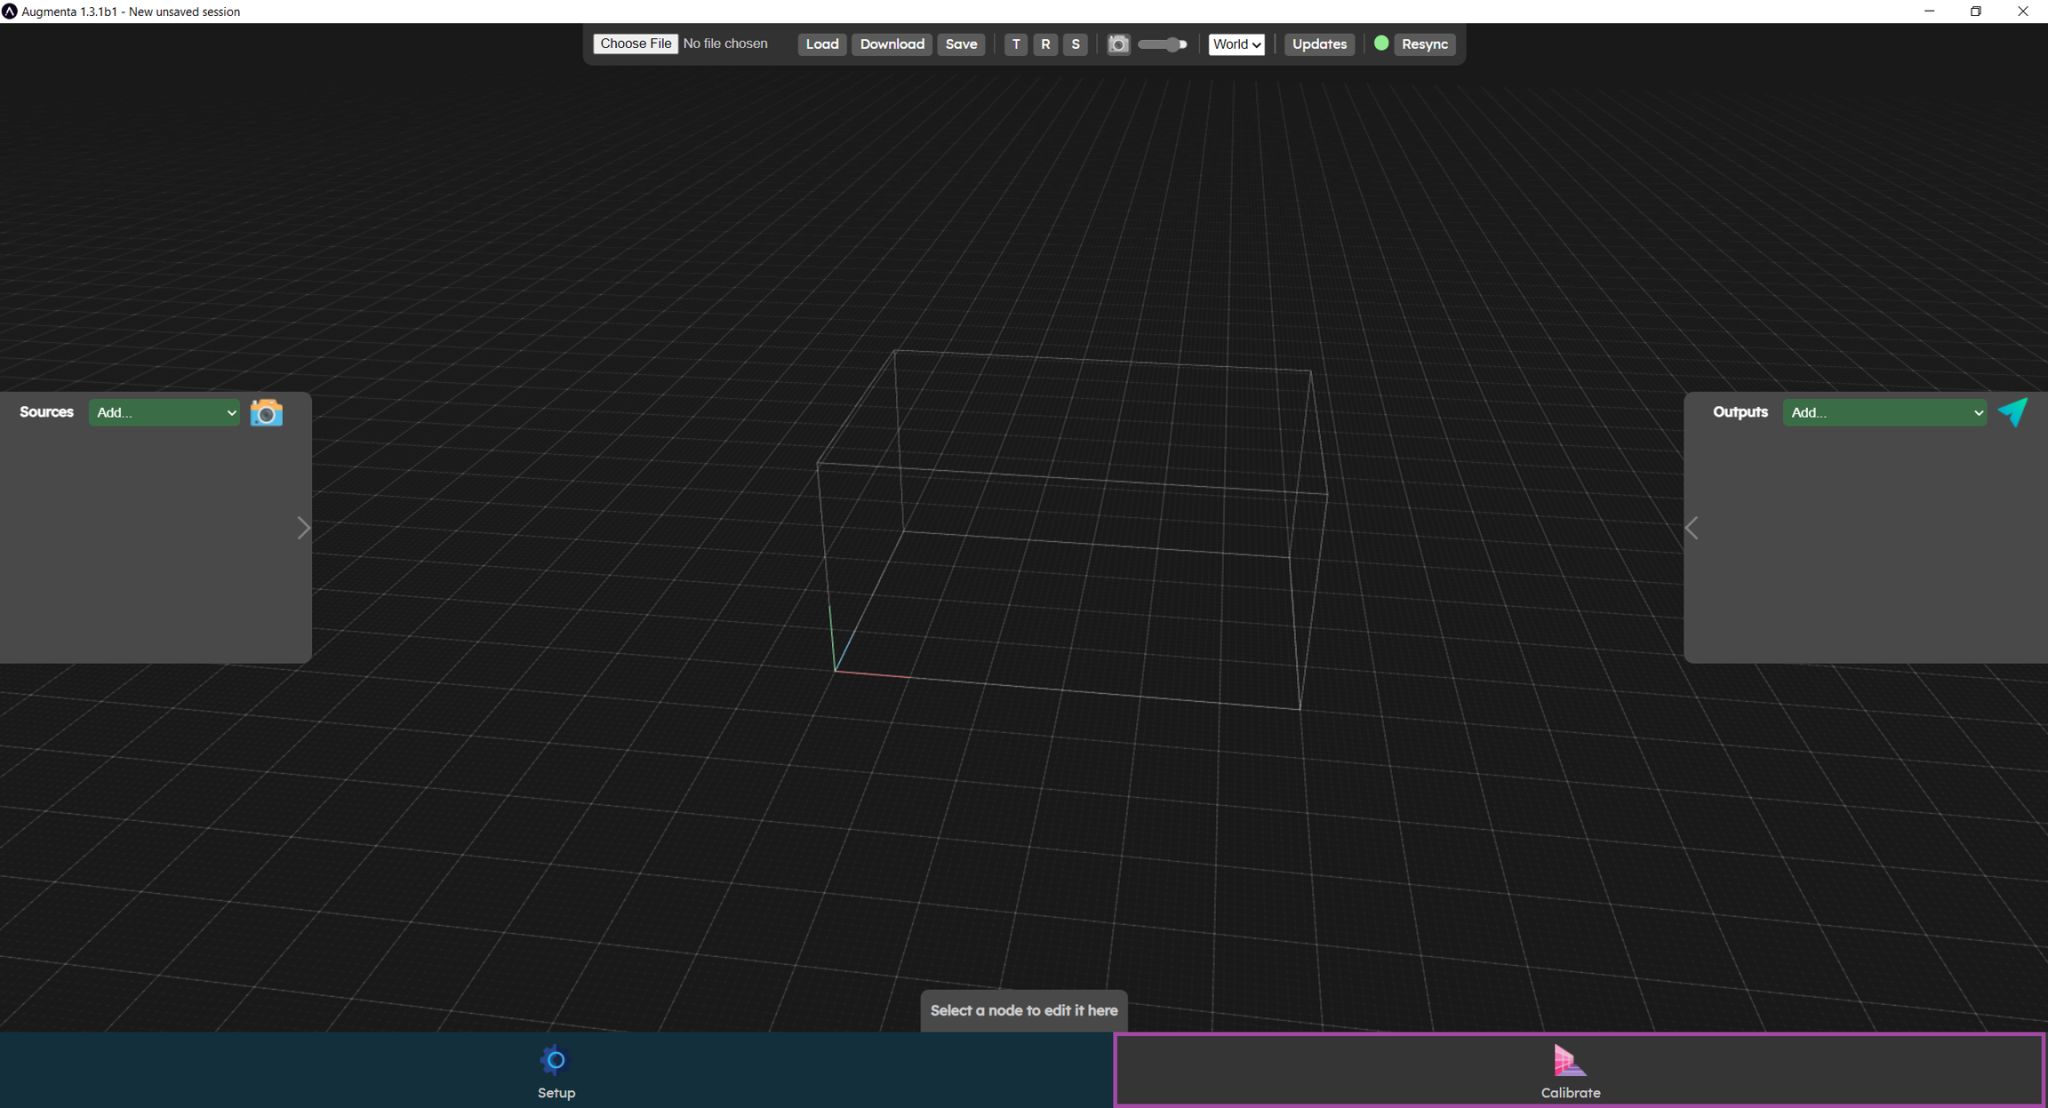
Calibrate menu
The calibration menu allows you to view the camera data stream, calibrate your scene and adjust the processing parameters to track people in the scene.
It has some subpanels, that we will cover later :
Several submenus are available. They follow a logical order to set up the system.
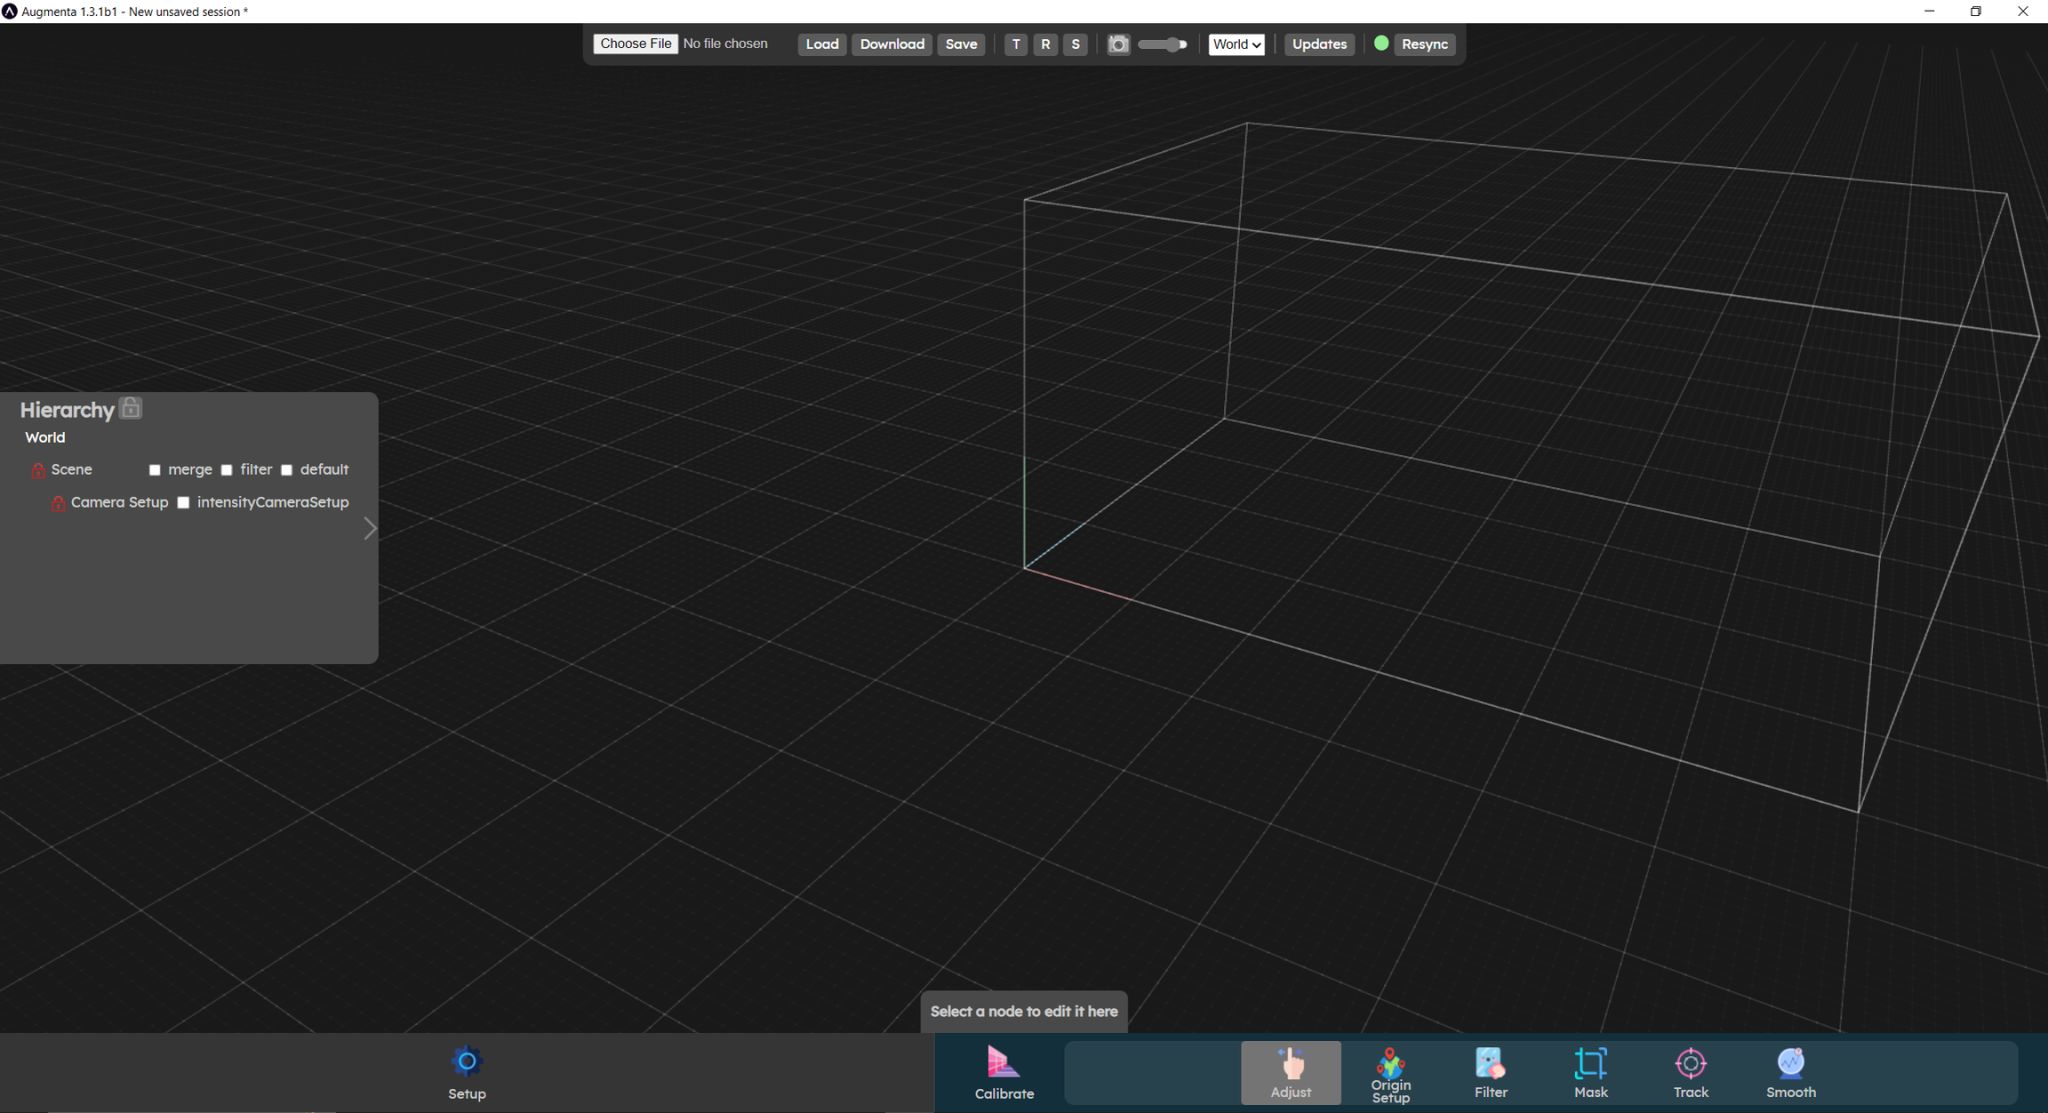
- The Origin Setup menu is used to set the size of your scene and position it in the 3D world.
- The Adjust menu is used to position cameras in the scene and also to position cameras in relation to each other.
- The Filter menu is used to filter the merged point cloud coming from the cameras. This menu provides additional noise filtering or usefull pointcloud processing.
- The Mask menu lets you create crop boxes. This allows you to select only parts of the merged point cloud (remove walls, floors or any object you don't want to track).
- The Track menu is used to set clustering and tracking parameters.
- The Smooth menu is used to smooth and predict the displacement of clusters. Setting these filters helps you achieve precise, jitter-free tracking.
Hierarchy panel
The hierarchy of your objects is displayed in the left panel of the interface. All the object in your current world will be displayed, with indentation that represent the parent-children relationship between objects. Moving a parent of an object will also result in moving the child.
Hierarchy filters
The hierarchy panel content will change depending on each submenu is currently active. This is intended to simplify the process of setting things up, by removing objects that are not usefull to set parameters in a specific submenu. If for any reason you need to display the full unfiltered hierarchy in any submenu, you can click on the global lock at the top of the hierarchy.
Locks
Each object in the hierarchy has a lock toggle on the left of its name. When an object is locked, you can not interact with it in the 3D world. Only the objects you should be moving in the current submenu are unlocked when you change the submenu. The other objects are locked by default. This is on top of the hierarchy filtering, because it might be usefull to know that some objects are there, but they should not be moved in the current submenu (as it is the case of crop volumes, that we want to display so you know they are there and could be removing data, but should definitely be edited in their on submenu).
You can freely unlock any locked object. You can also unlock all objects (and remove all hierarchy filters) by ckicking on the global lock at the top of the hierarchy.
Object manipulation in the 3D editor
The most important interactions are explained in the  Top bar section.
Let’s check now the  Origin setup panel